Custom Keyboard Build
Hand-lubing and assembling a custom mechanical keyboard from scratch
About the Build
I've always used pretty standard, off-the-shelf keyboards. Nothing I ever really thought twice about. But after getting my first real experience soldering components at Lightsense Technologies, something clicked. There was something oddly satisfying about working with hardware, building something physical piece by piece. Up until then, electronics felt distant and kind of abstract to me. This was probably my first real entry point into it.
Around that time, I also had something I didn't always have before, a bit of disposable income and free weekends. So I figured, why not try building a custom keyboard? I had no idea what I was doing. Which honestly made it more exciting.
Shopping for parts was rough. I don't really have an artistic eye. I've always leaned toward function over form, so most decisions were straightforward: aluminum case, interesting PCB, linear switches. The keycaps though… yeah. At the time the fish theme looked kind of cool, my entire thought process was basically "just pick something that contrasts with white." Looking back, I lowkey regret it. They're not terrible, but they're also not great. Still, for a first build, it could've been worse.
The build itself took about two weekends, mostly because of one thing: lubing switches is actual prison work. I didn't realize what I signed up for. Hours on hours of sitting there with YouTube in the background, brushing springs, stabilizers, and switch housings one by one. Same motion, same process, every single switch. It was kind of miserable.
Once that was done, everything else felt pretty straightforward. Soldering, assembling, putting the case together. It may sound intimidating online, but it really isn't. And these days you don't even need to solder; hot-swappable PCBs exist so you can just plug everything in. There's definitely a deeper rabbit hole if you want it, but you get most of the result just from properly lubing your switches. Biggest lesson: more lube is not better. Less is usually better.
The keyboard mostly lives in my closet now. Turns out I actually like having function keys. But every now and then I take it out, type on it for a bit, and remember what it felt like to build something completely from scratch. Then it goes back into the closet lmao
Build Log
Parts Arrival & Unboxing
The build centers around the Cypher R4 FRL Compact 1800 — a function row-less compact 1800 layout — topped with KAT Mizu keycaps. Every switch was individually lubed with Krytox 205g0, the AEBoards Staebies V2 stabilizers were dialed in, and Sorbothane damping film was cut to fit the case for a deeper, more controlled sound. Every component and the links for where to buy them can be found below.
View parts list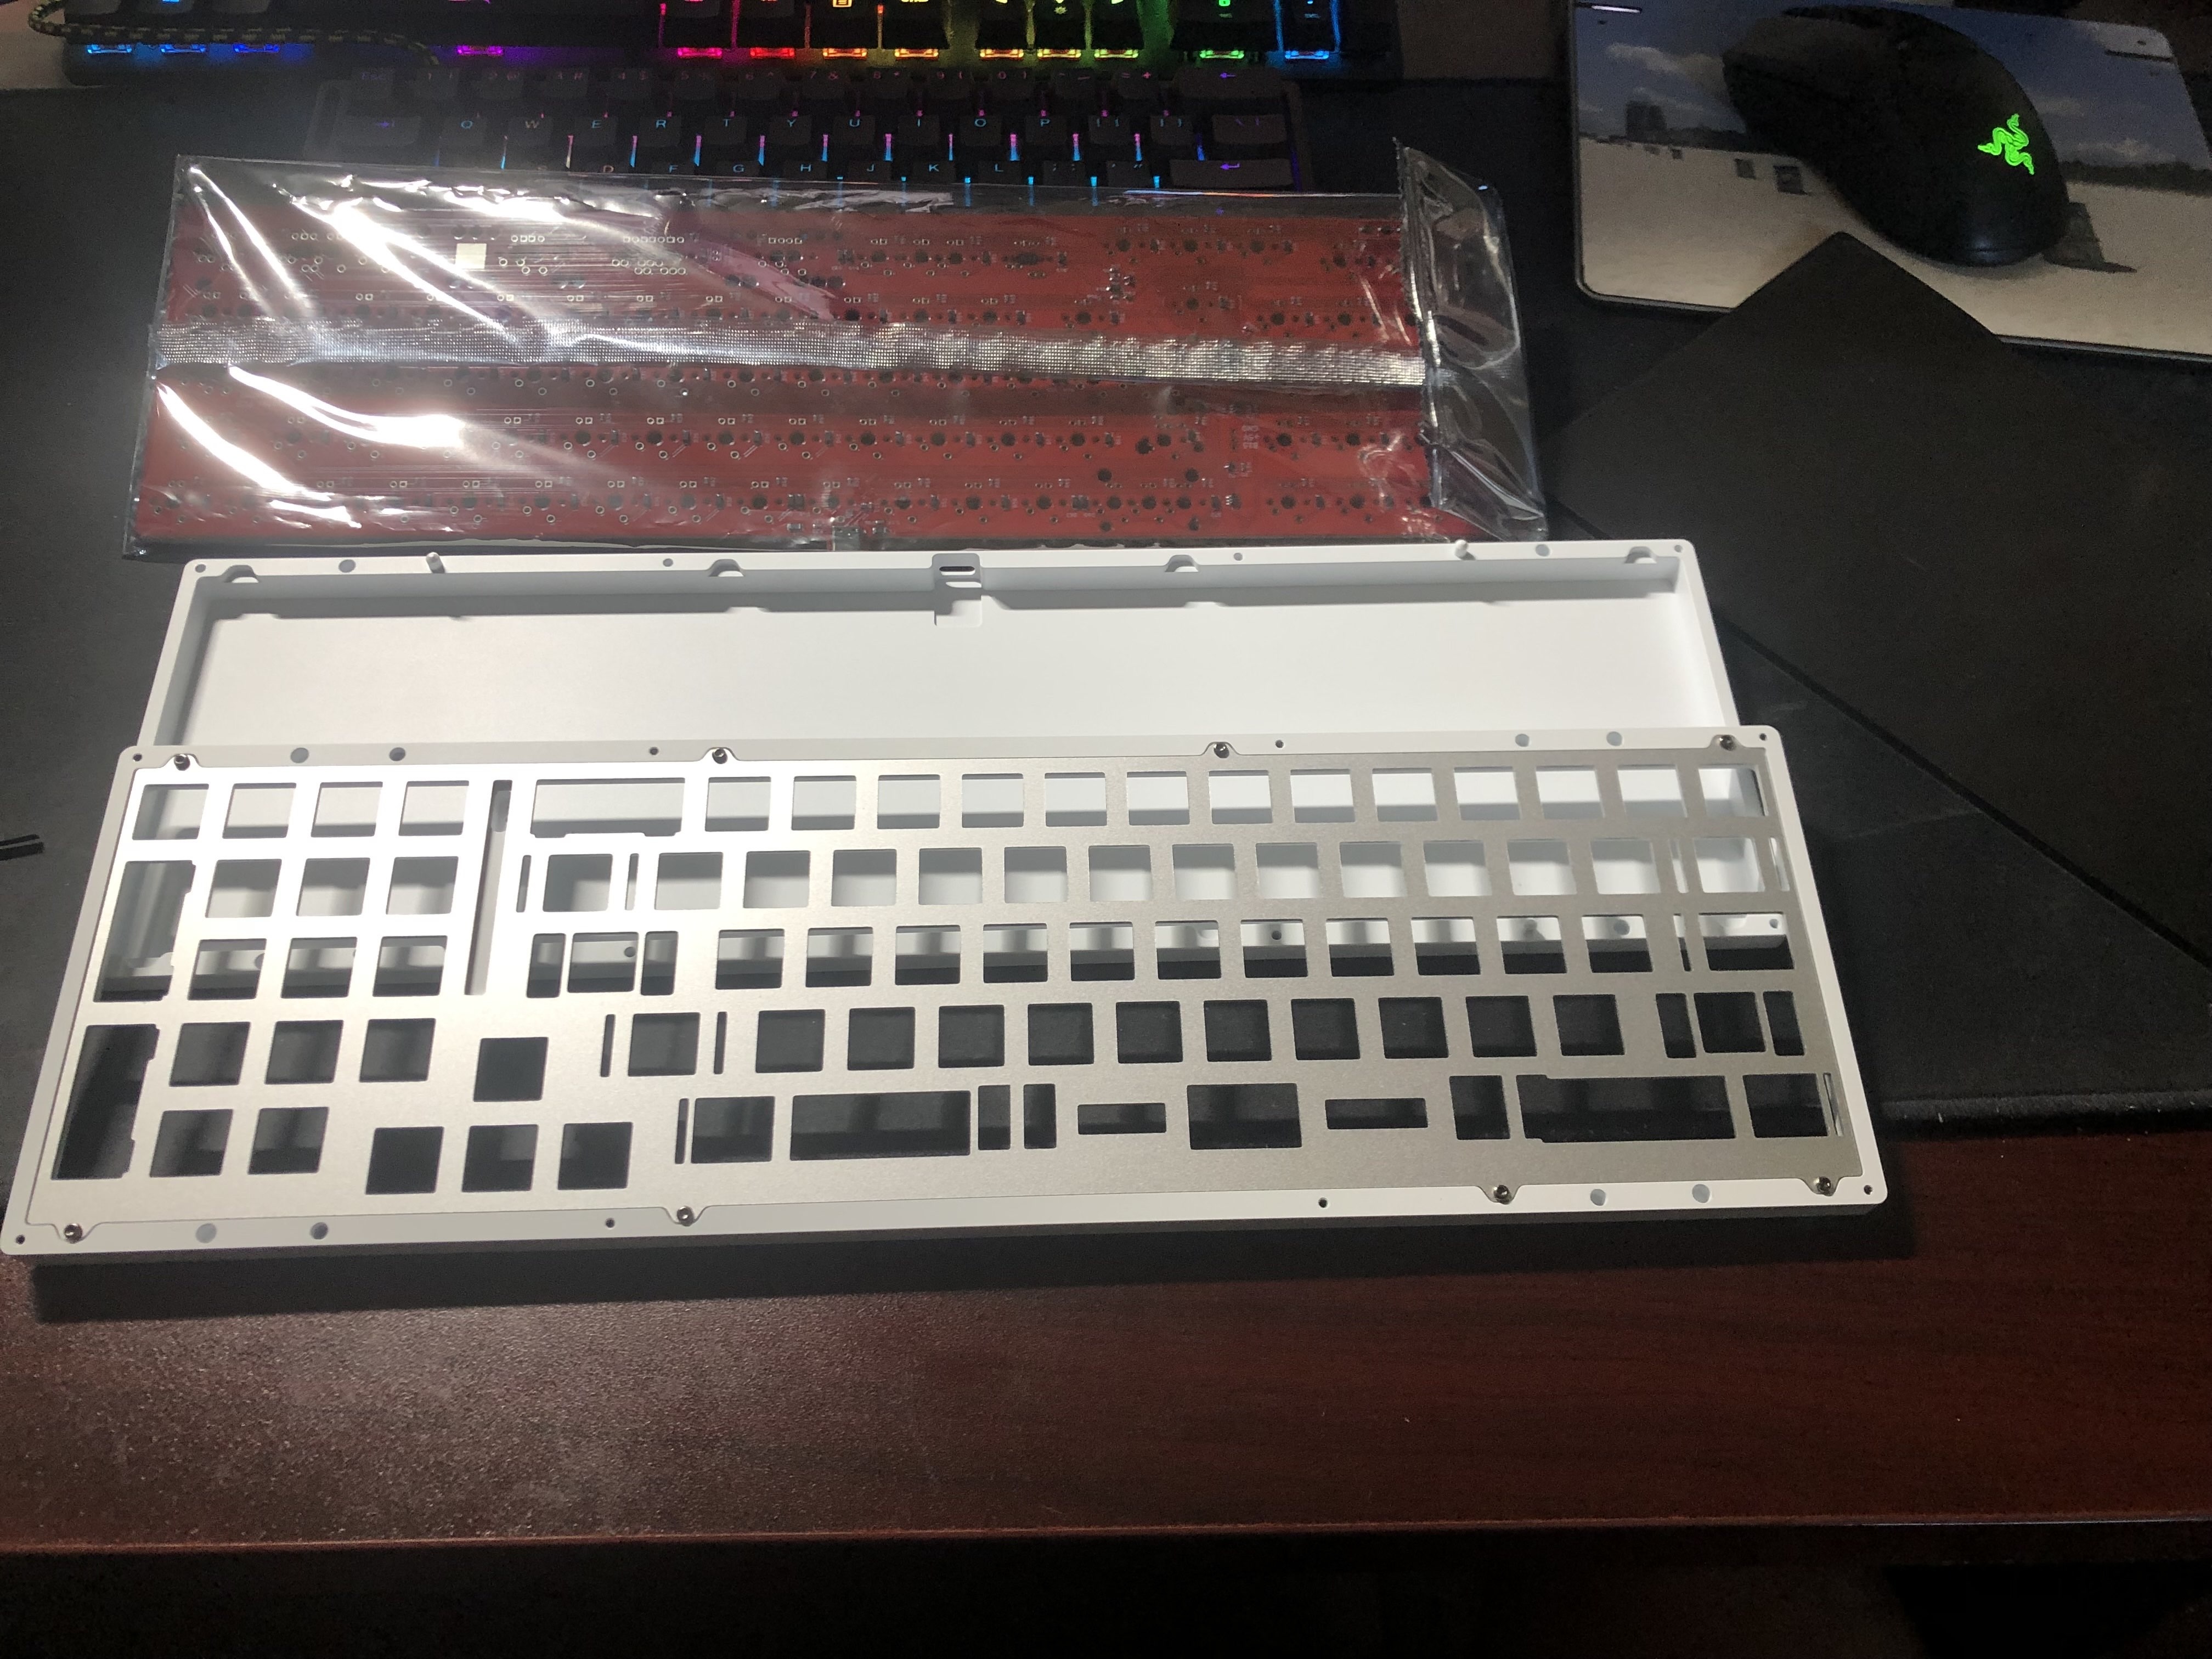
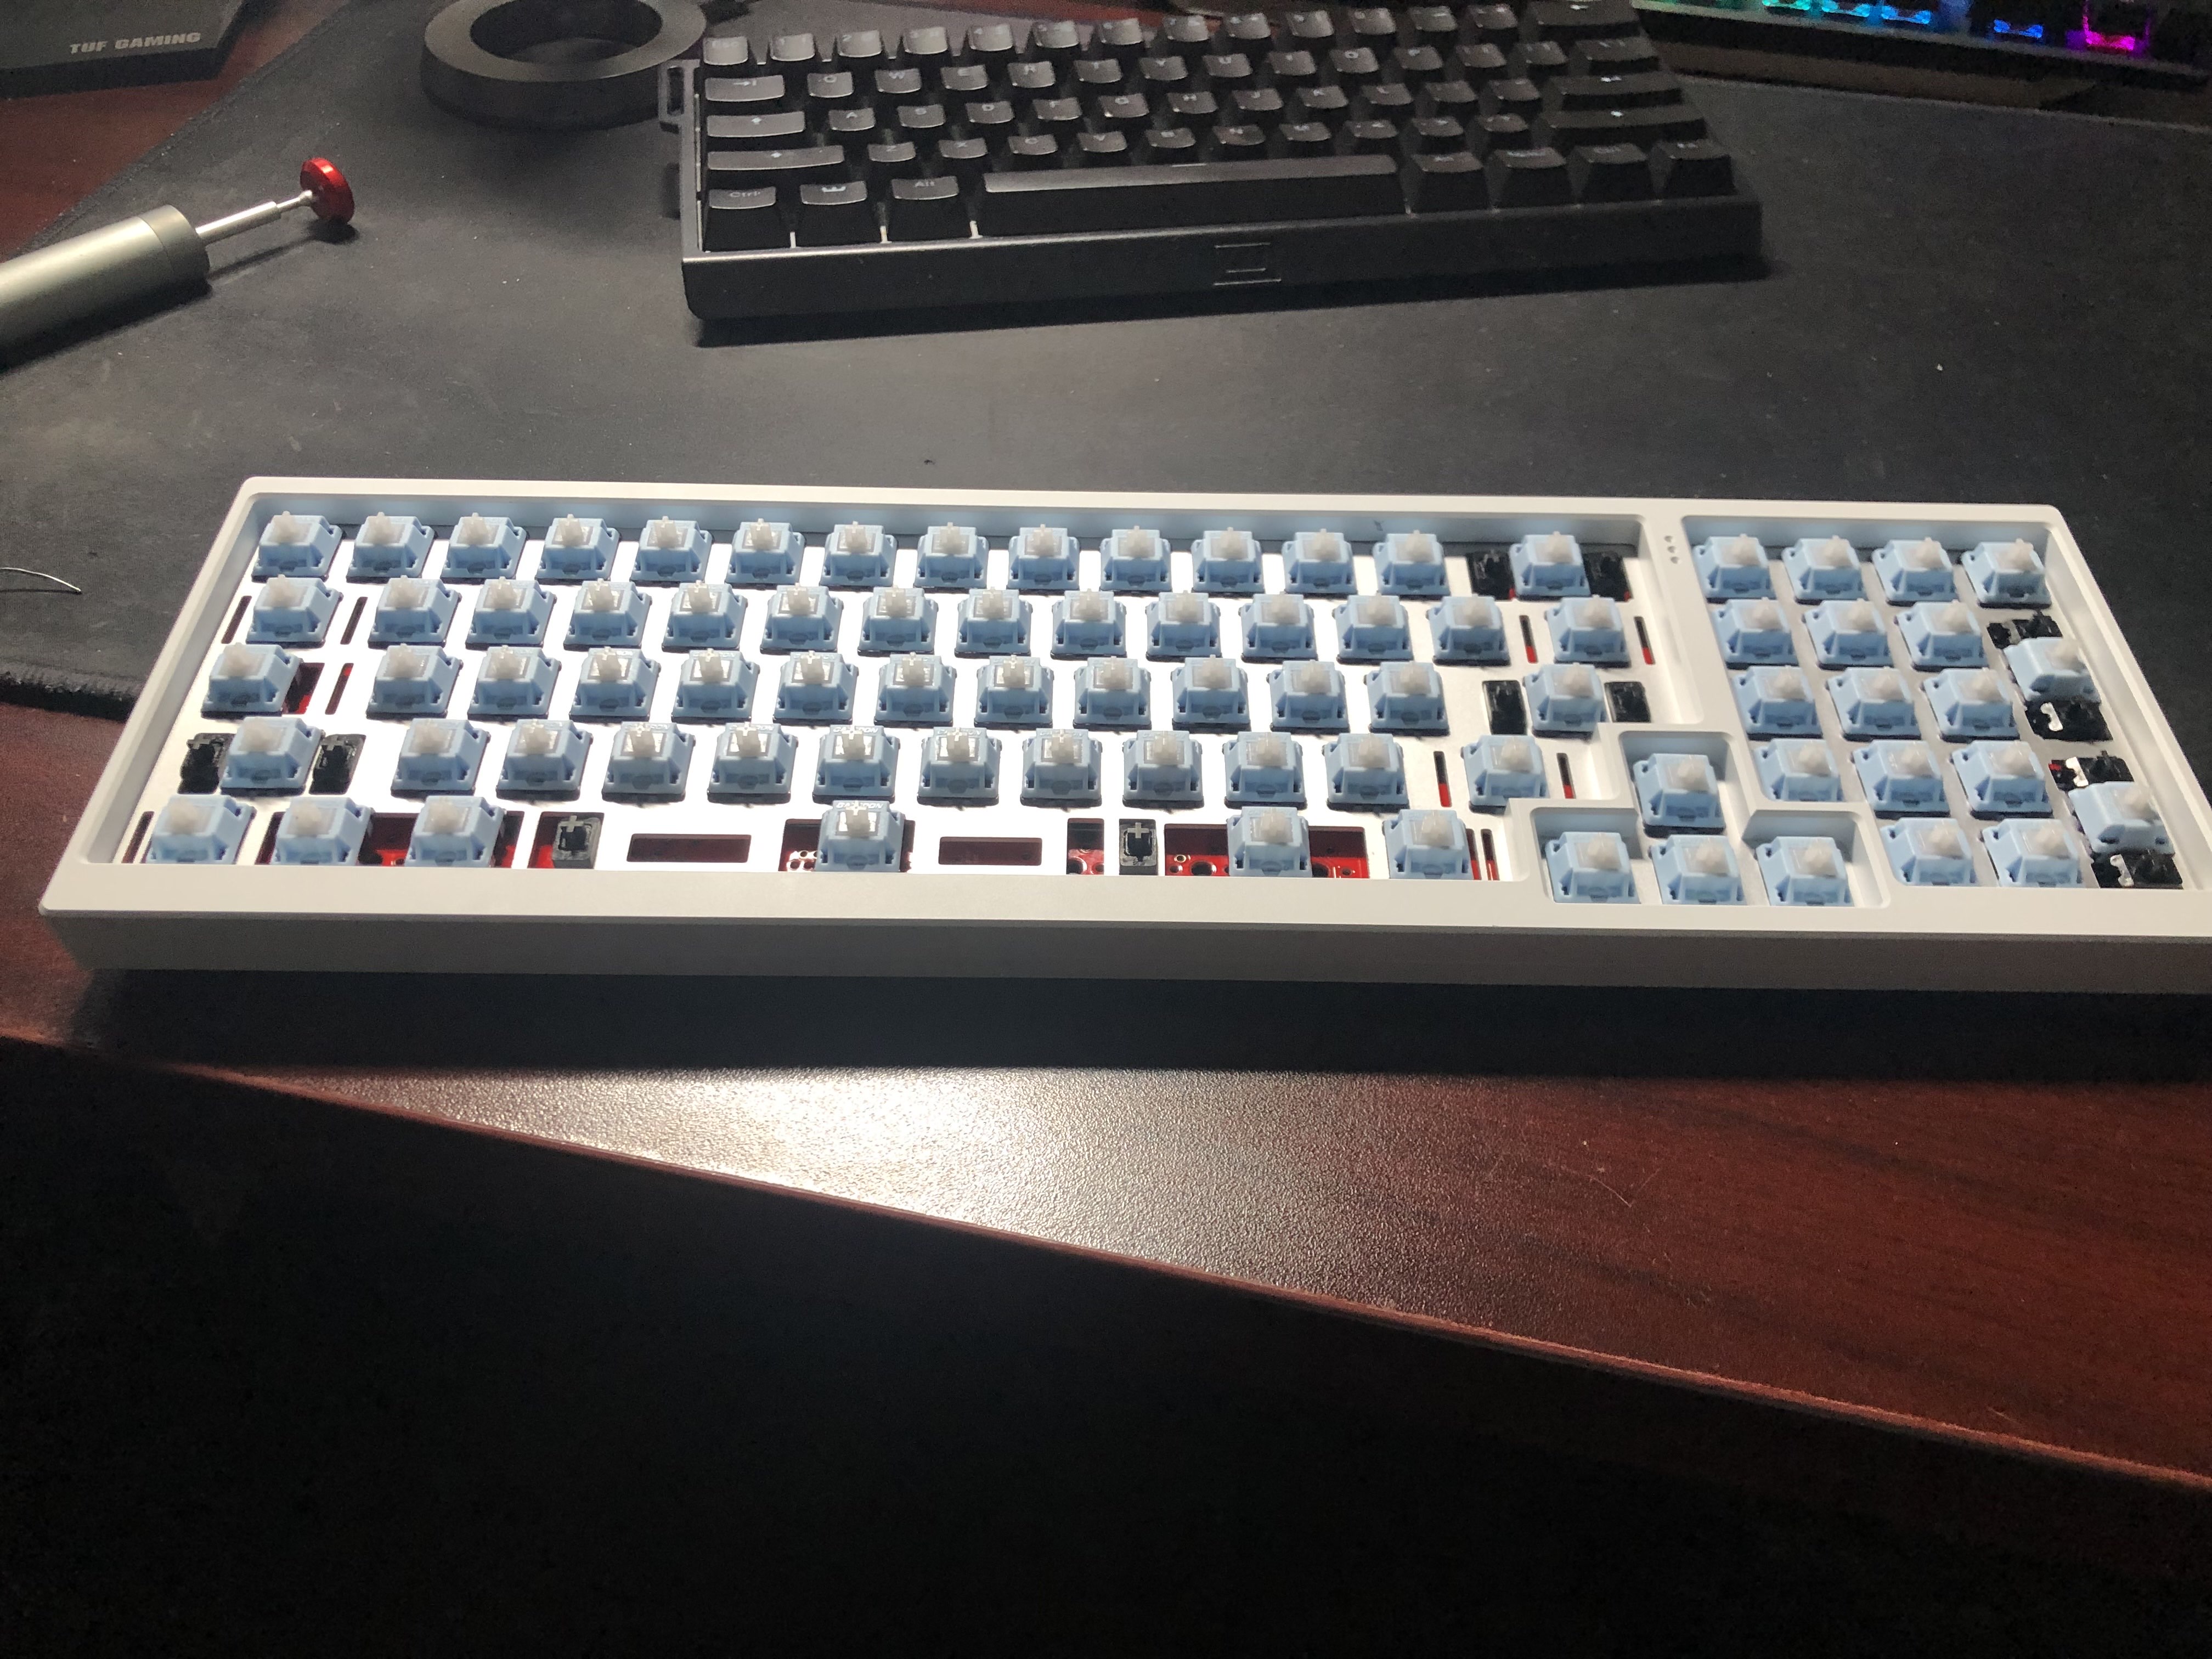
Aluminium Case and PCB board
PCB inside of case
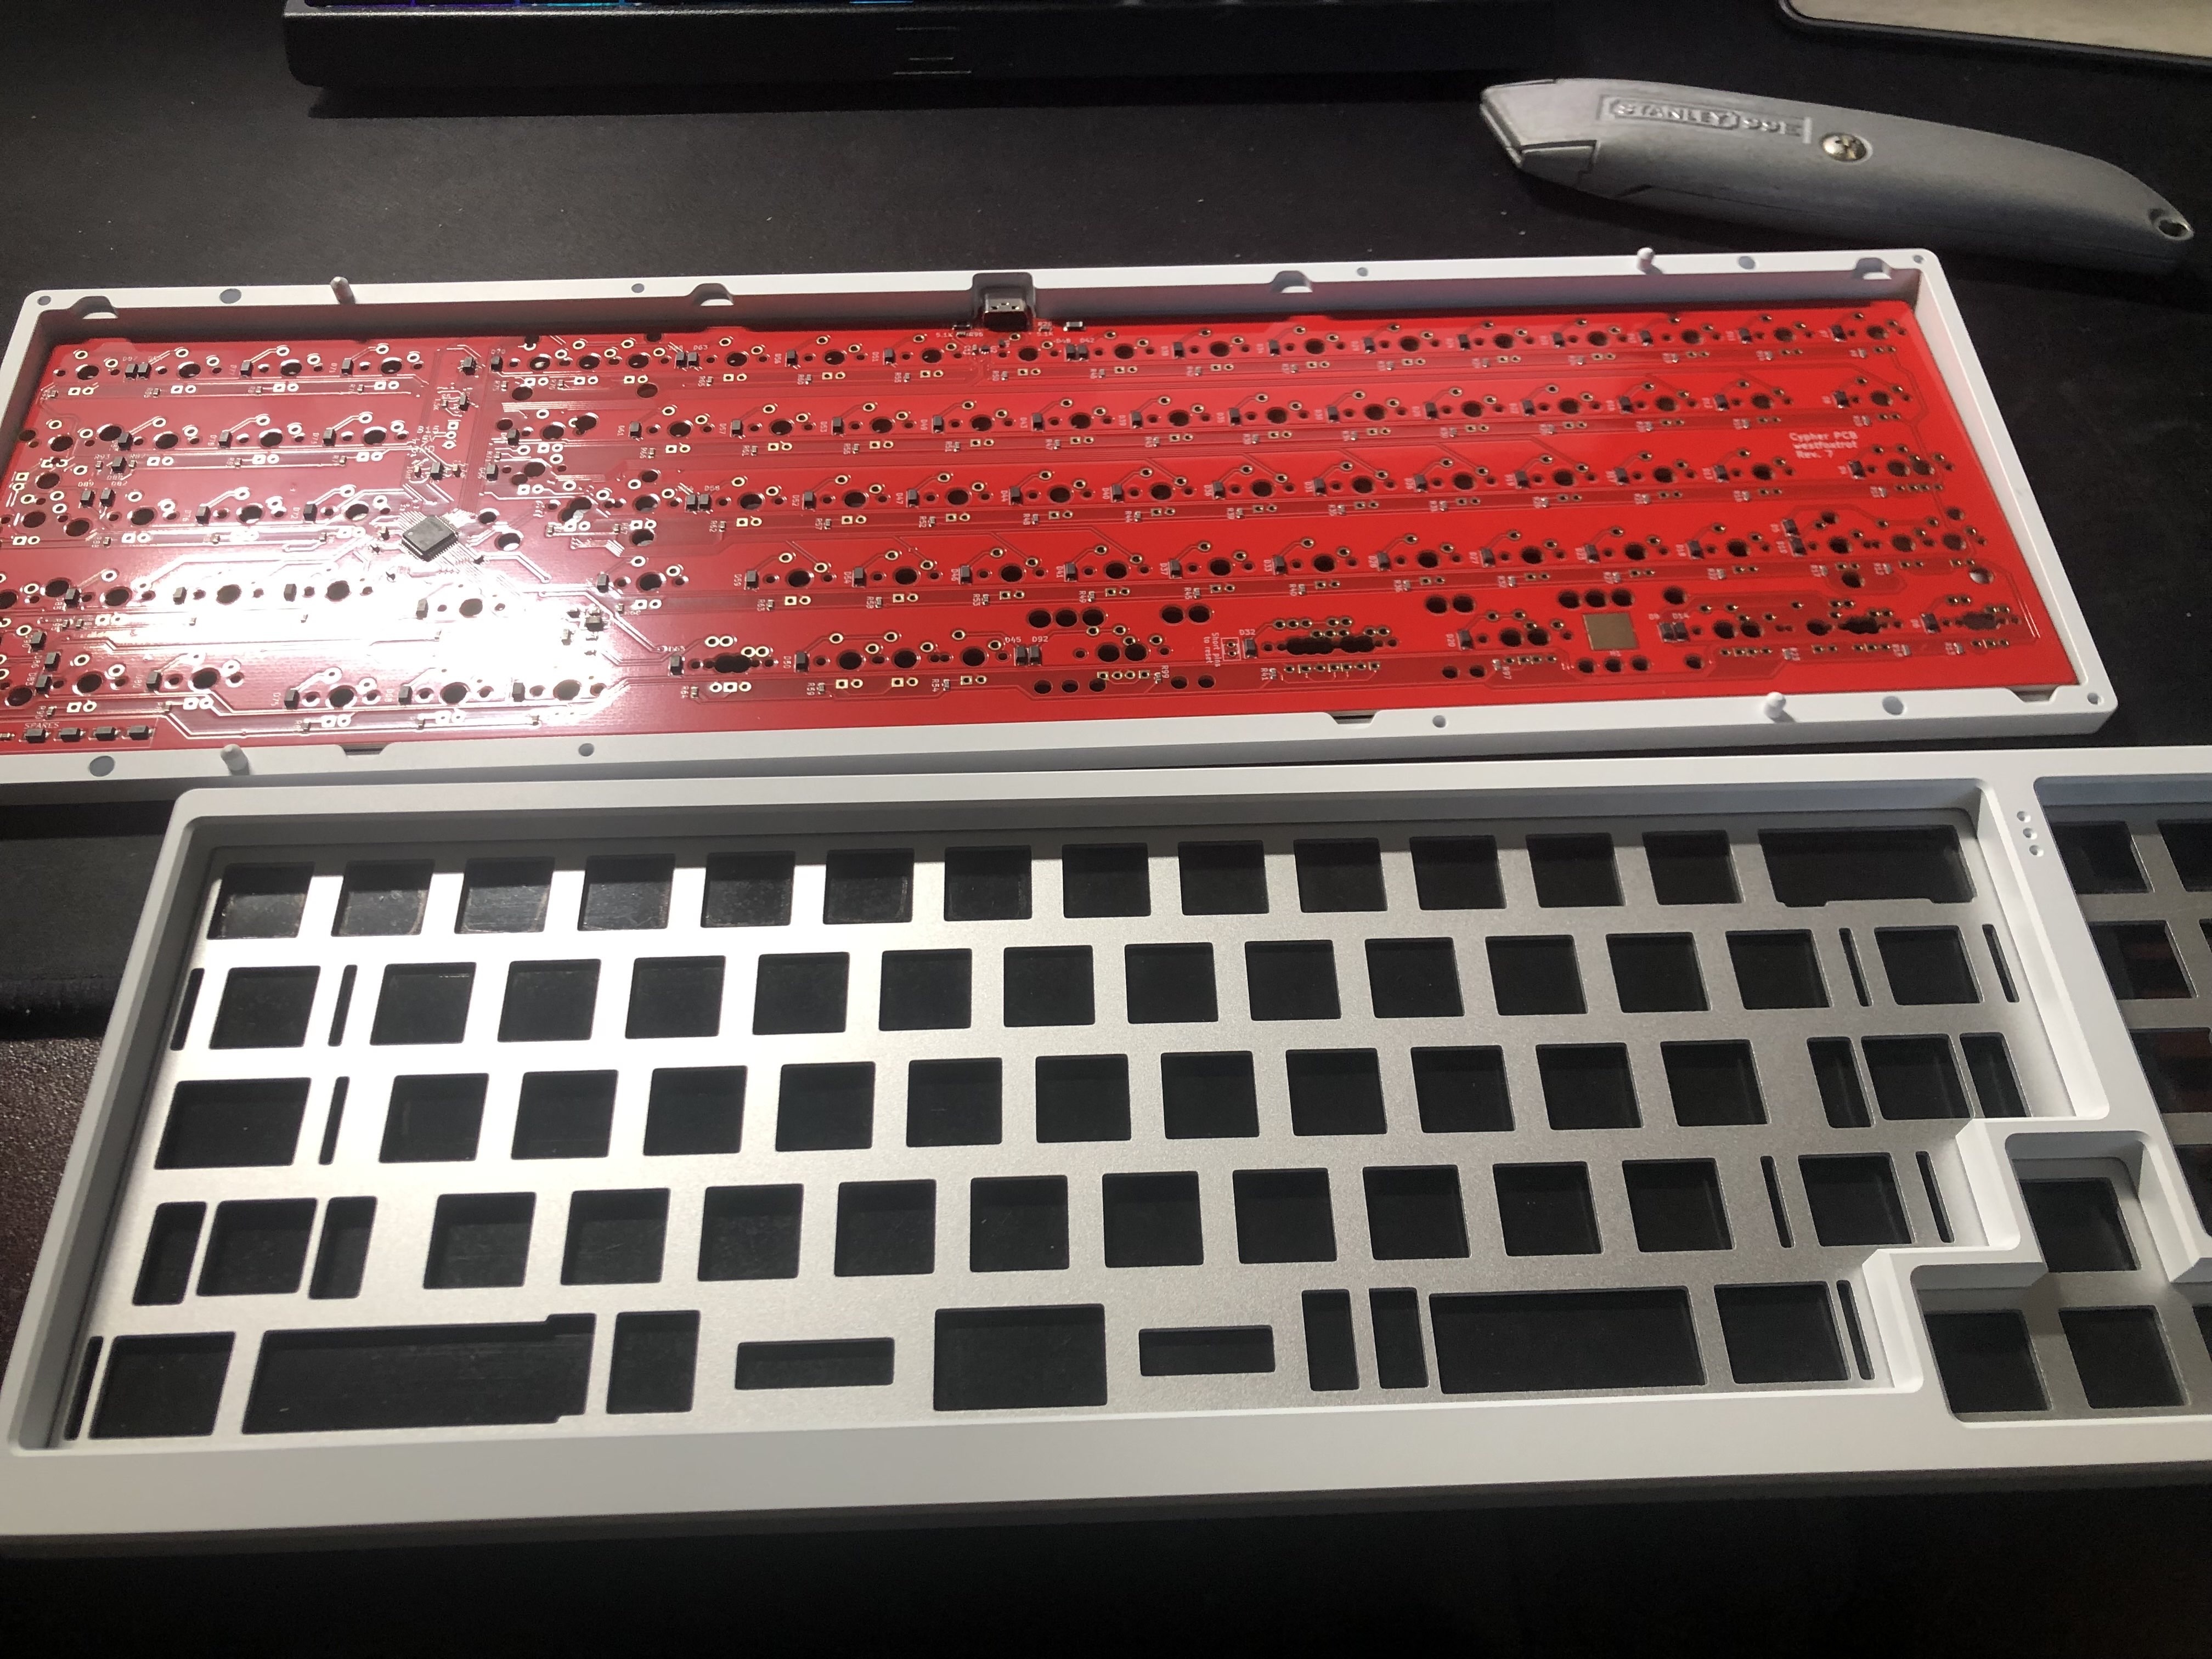
View of PCB
Pre assembly to make sure everything fits out of box
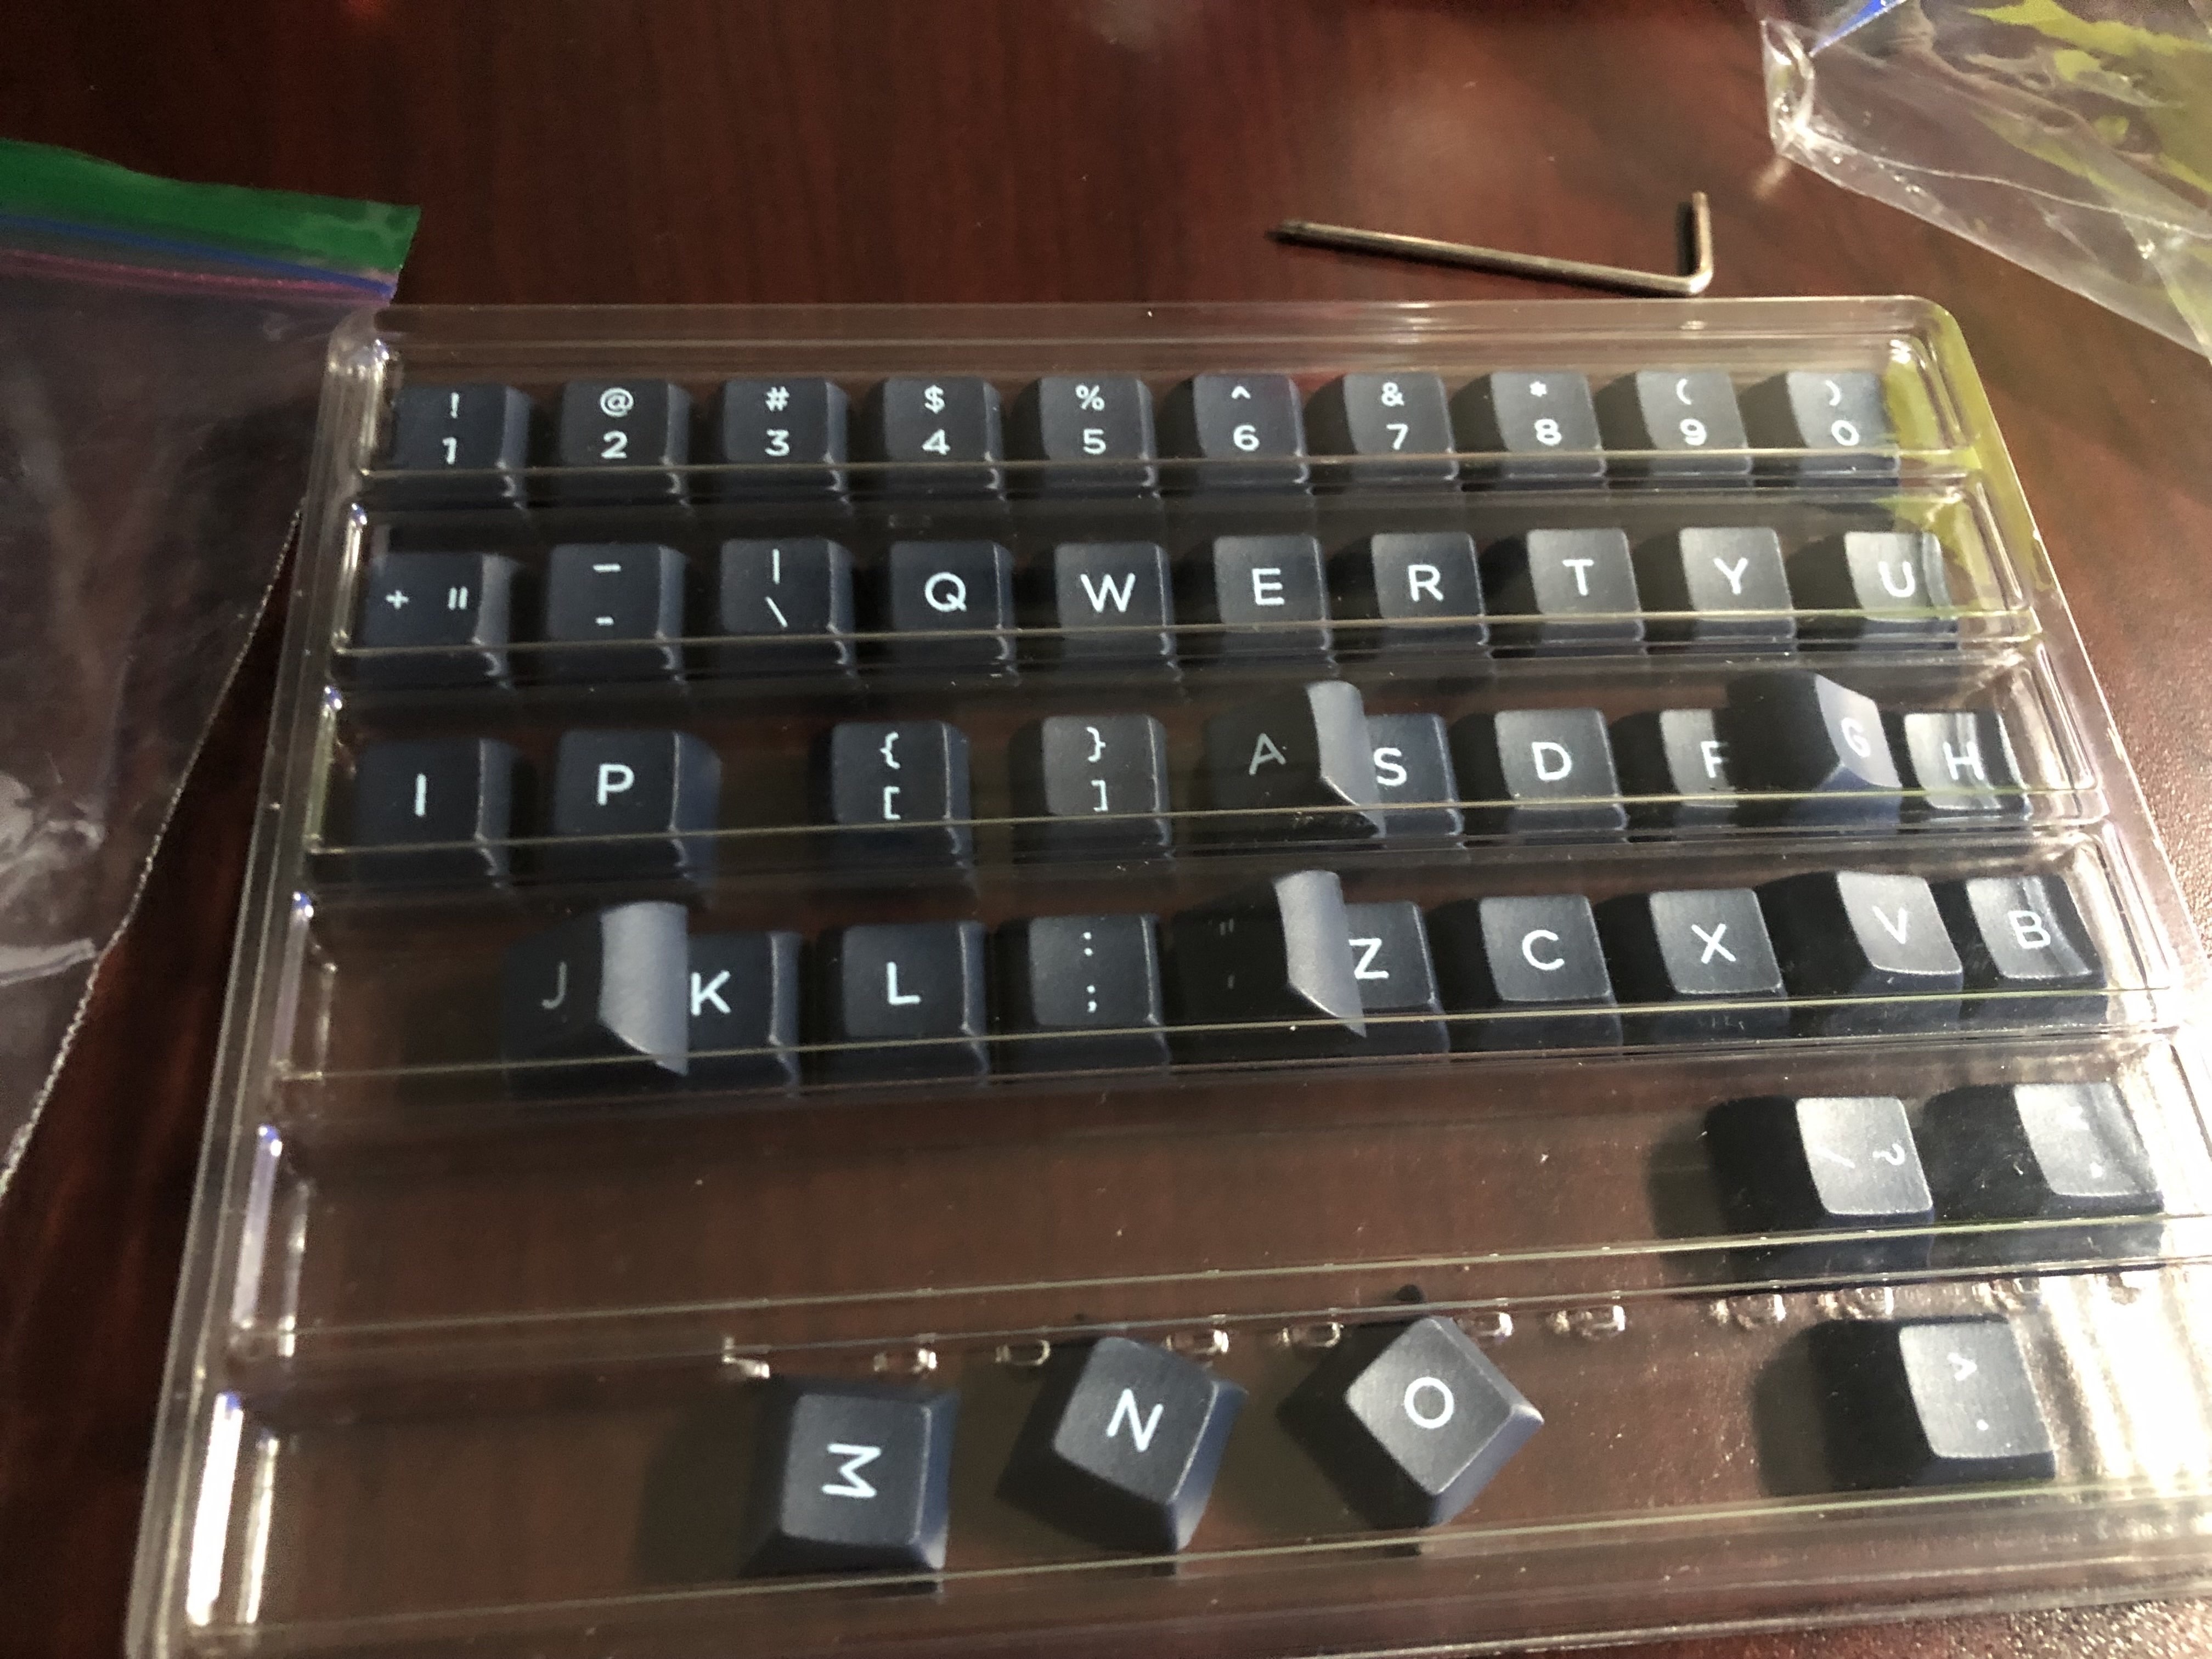
KAT Mizu Keycap Sets
Switch Modding & Lube Station Setup
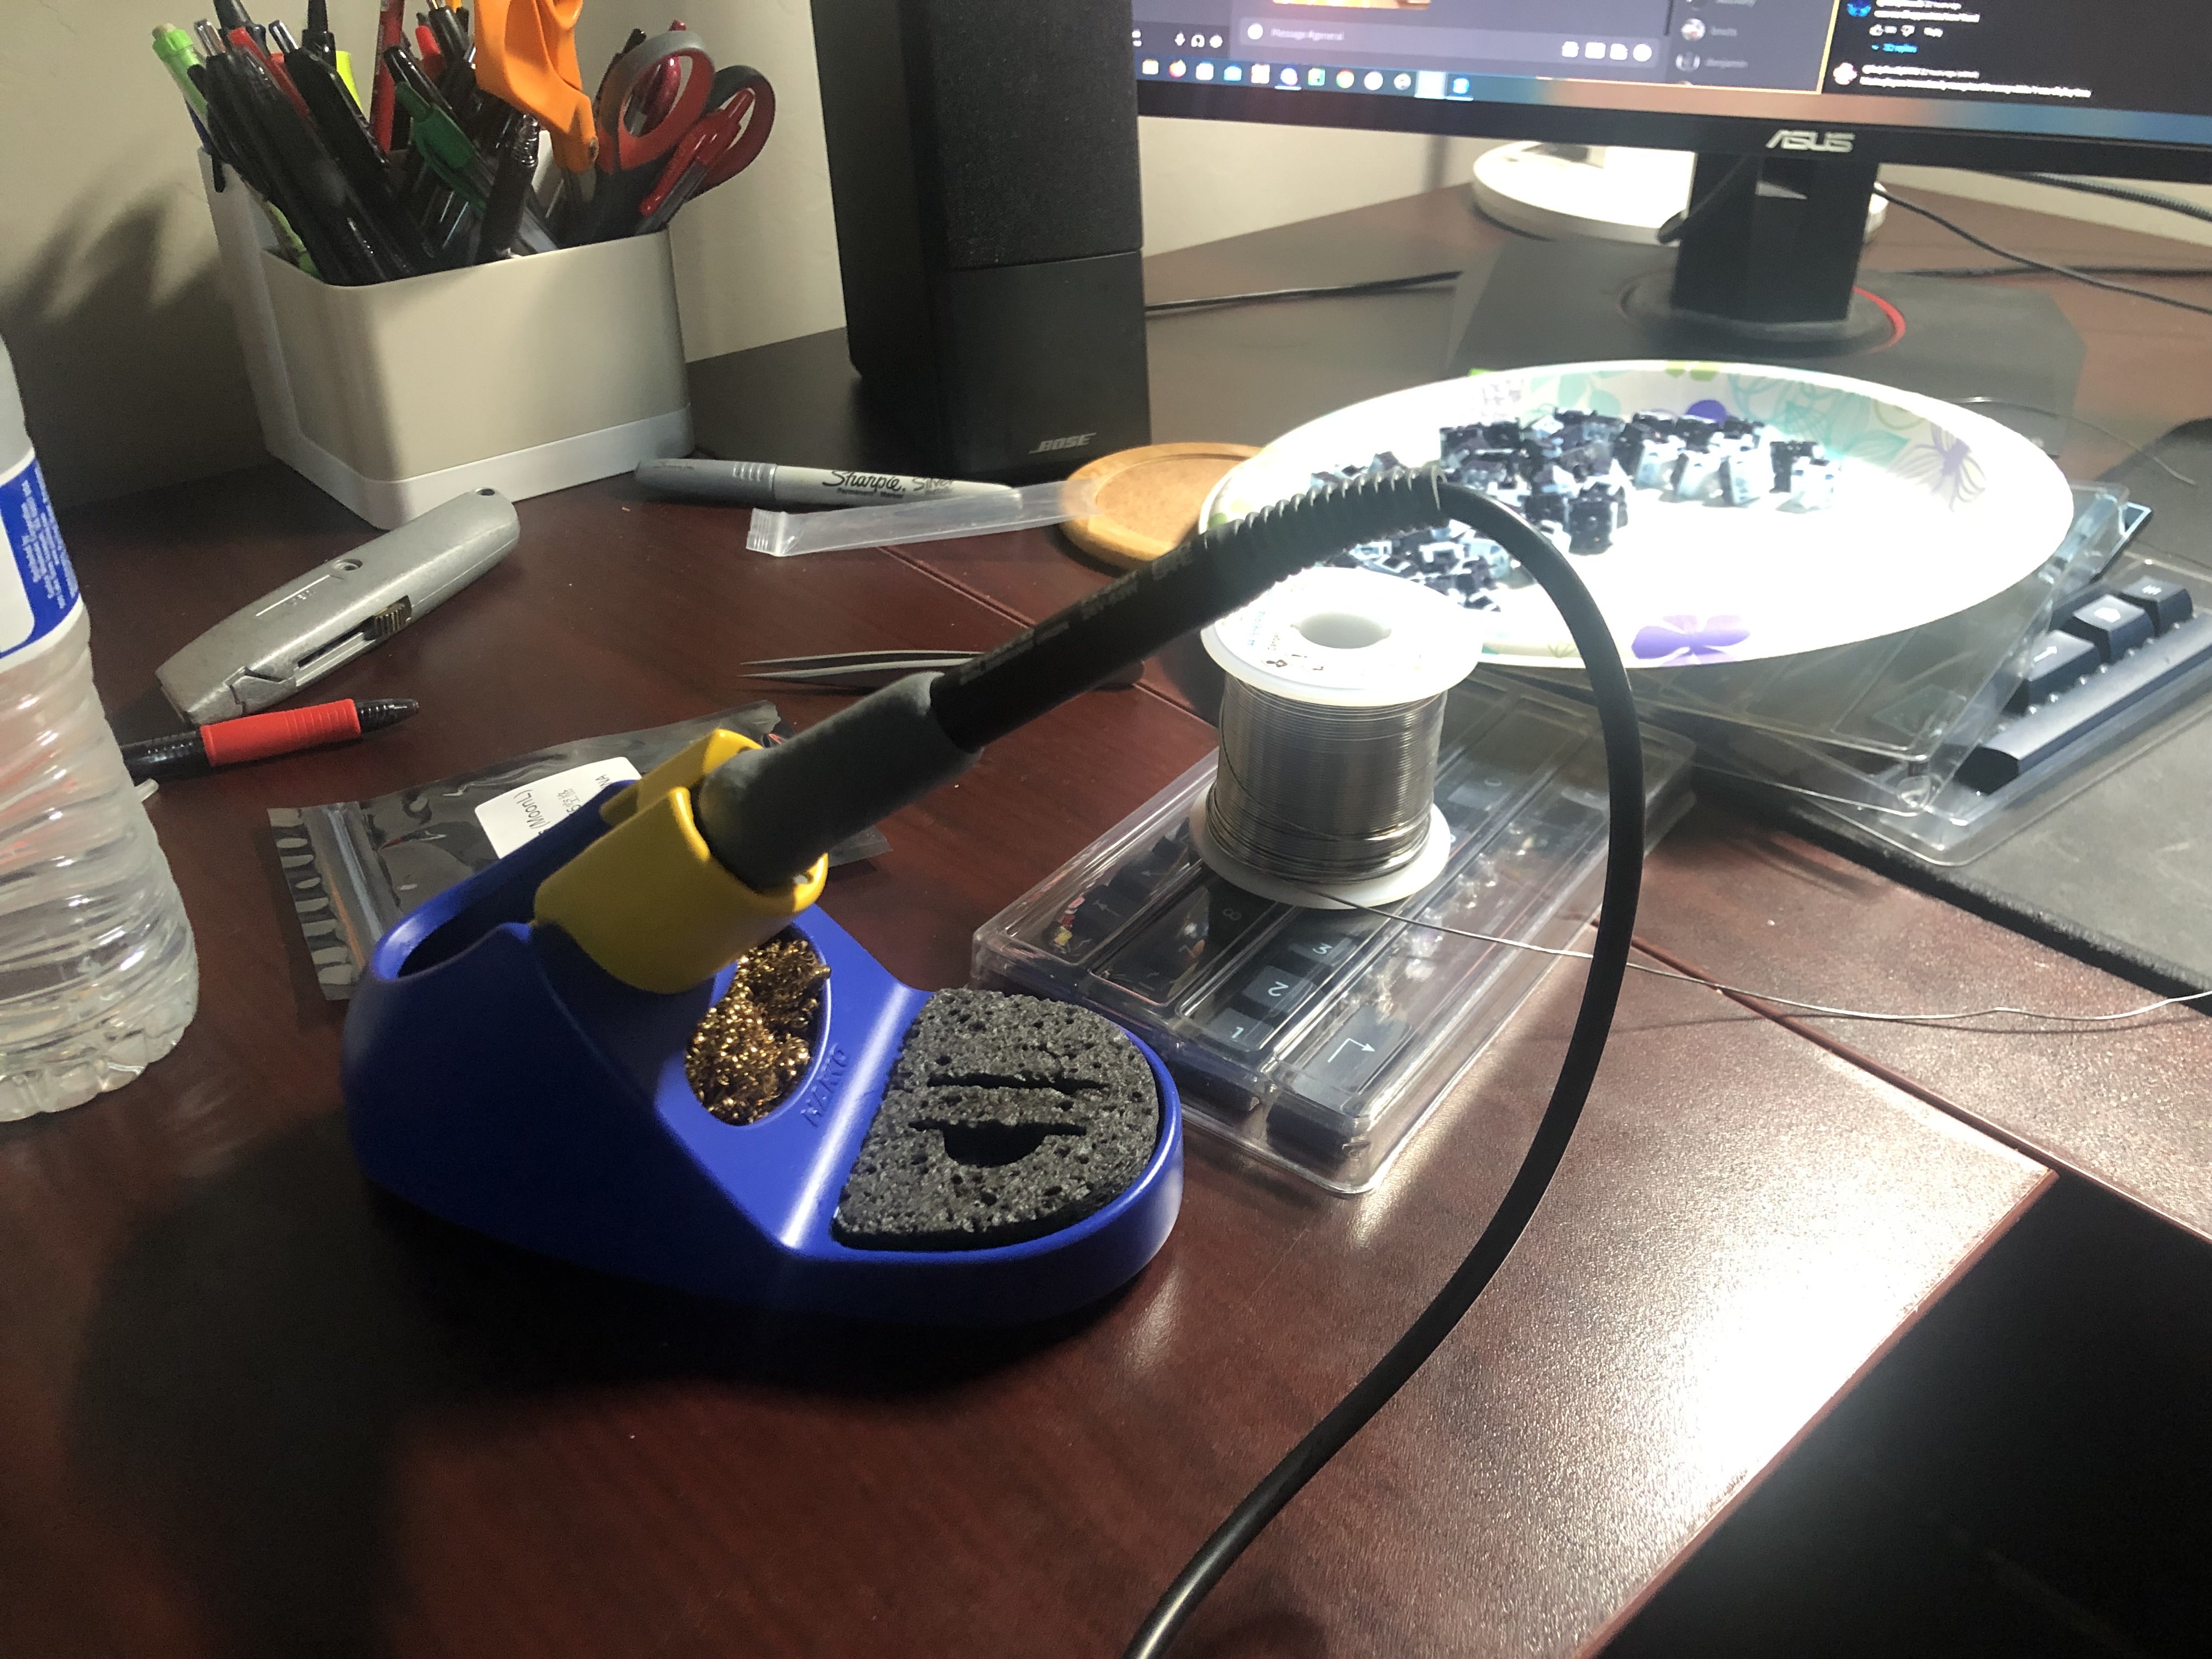
Set up the Switch Lubing Station. Each spring gets a tiny amount of 205g0 on the ends to prevent any pinging. I initially tried the plastic bag technique, but gave up and hand-lubed every one individually. Then I also lubed each switch individually with Krytox 205g0 on the housing and stem. Apply a thin and even coat to avoid muting the sound profile.
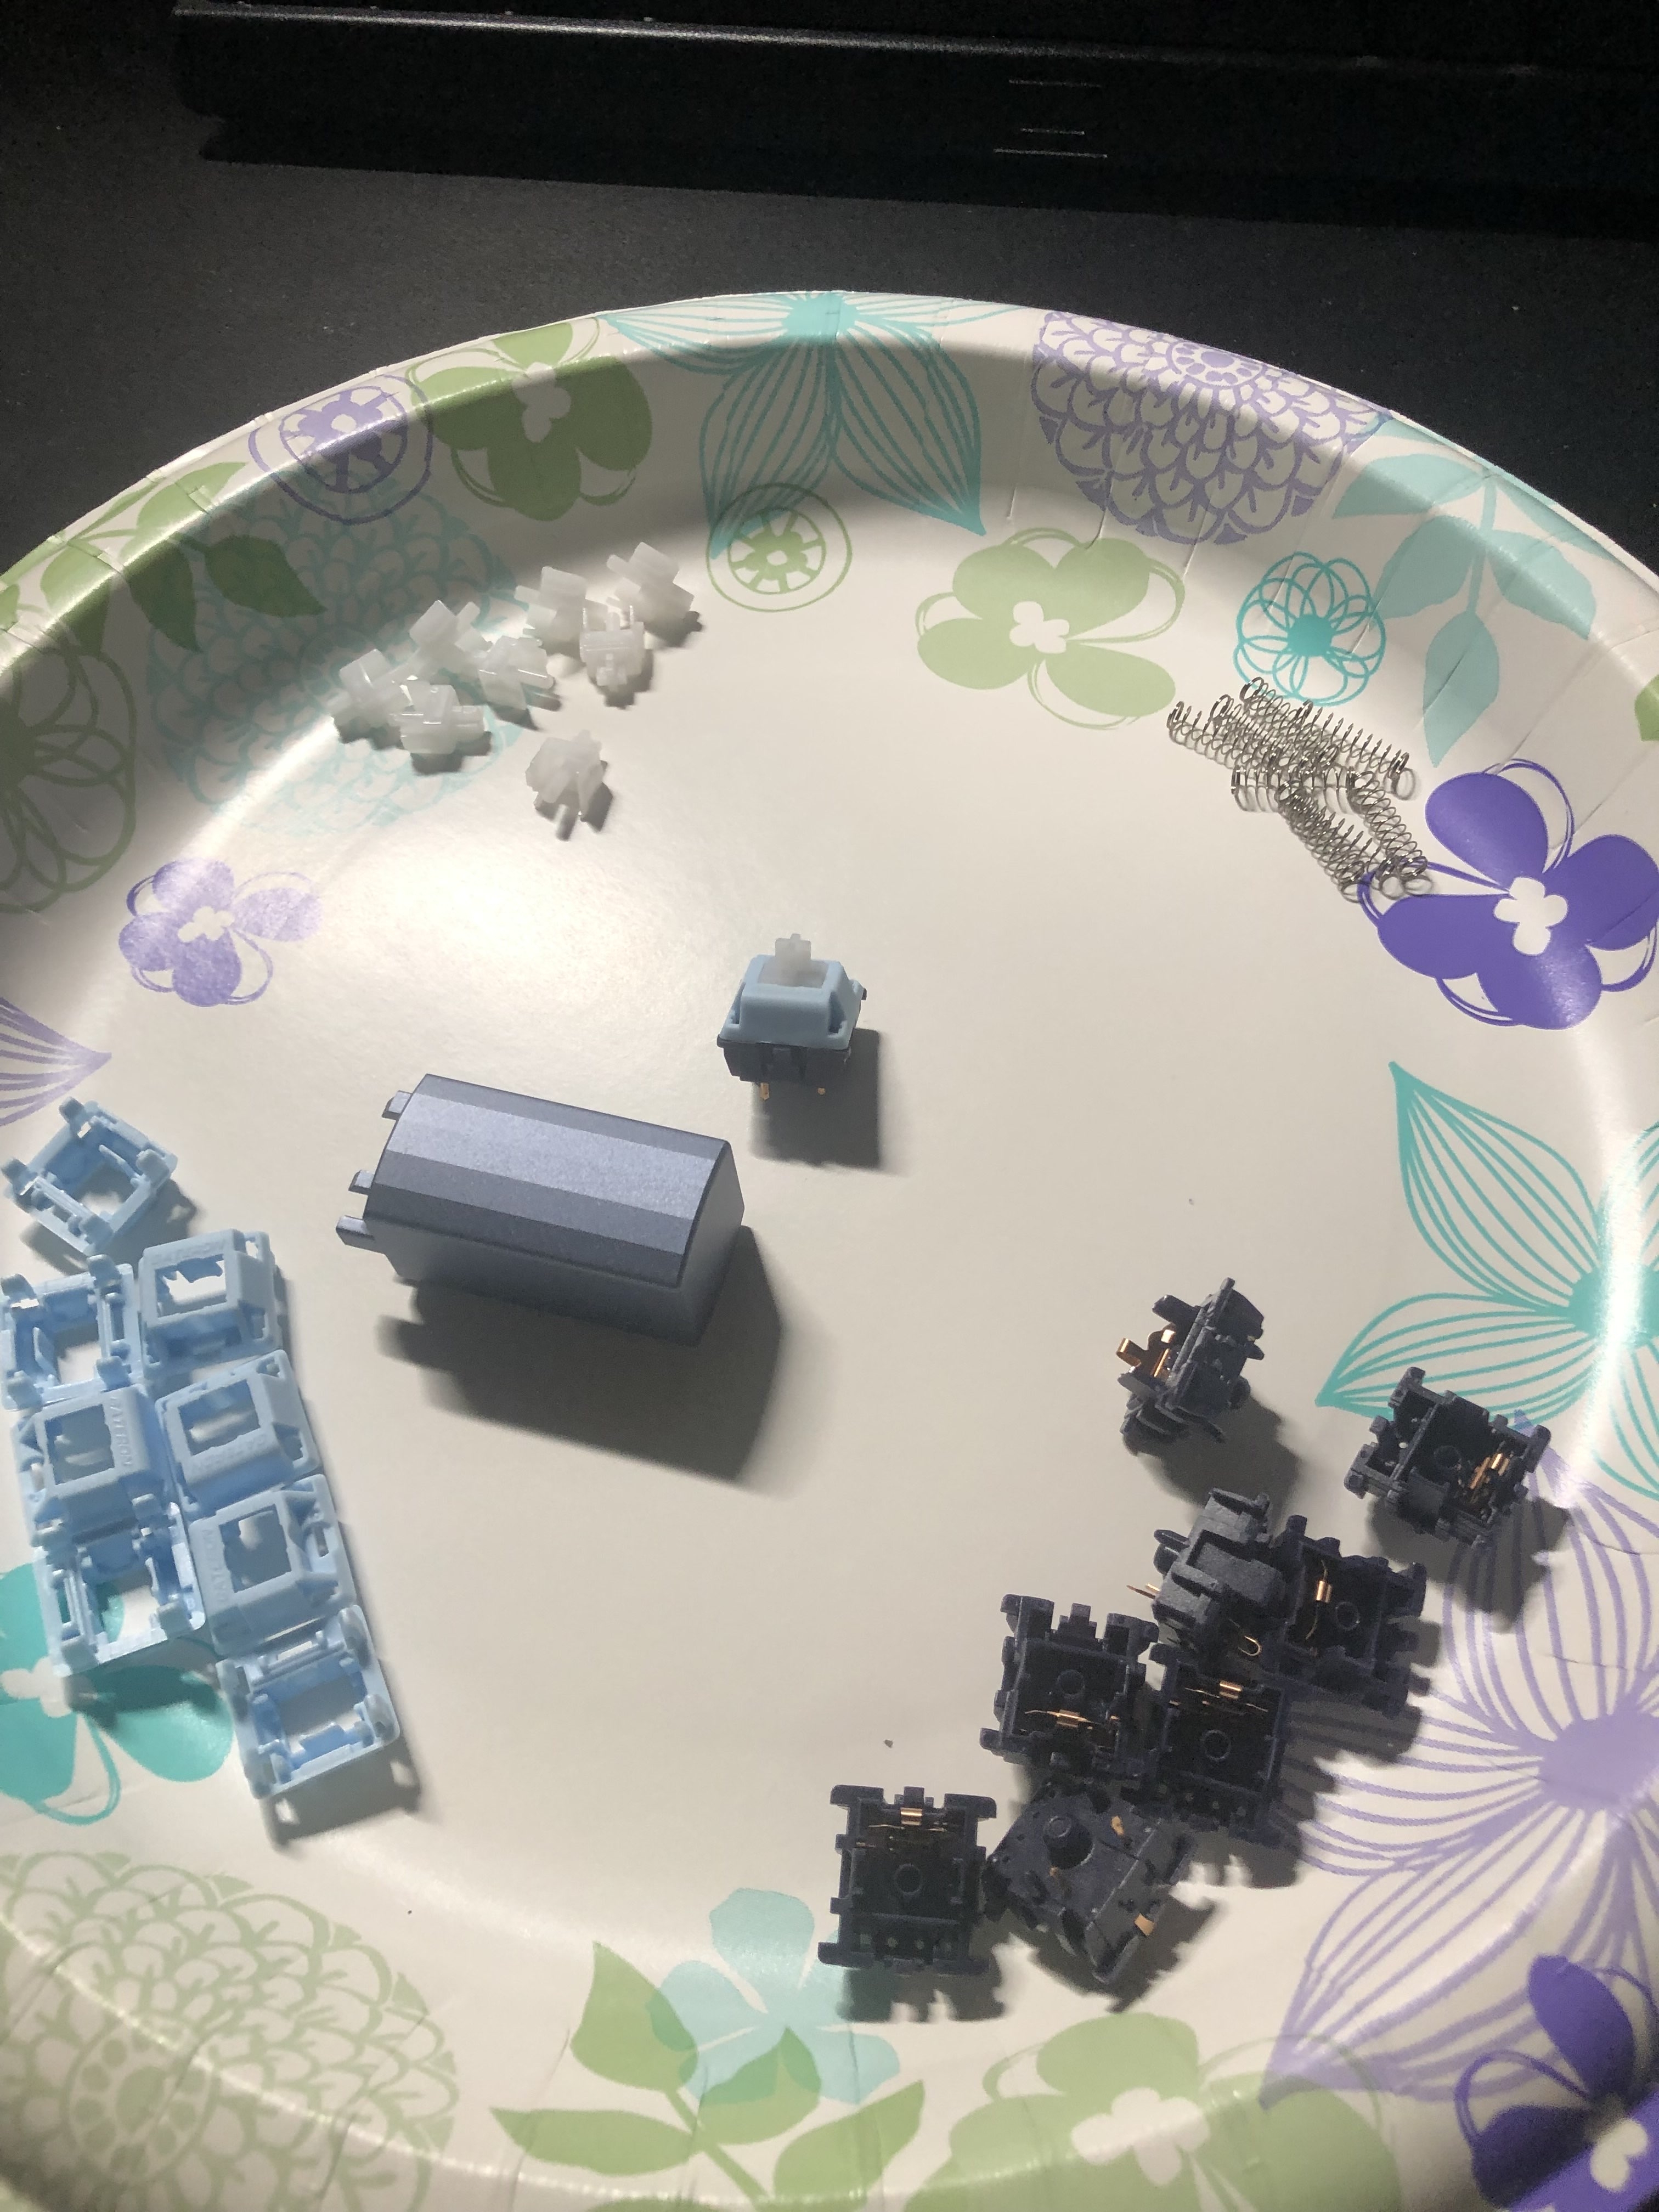
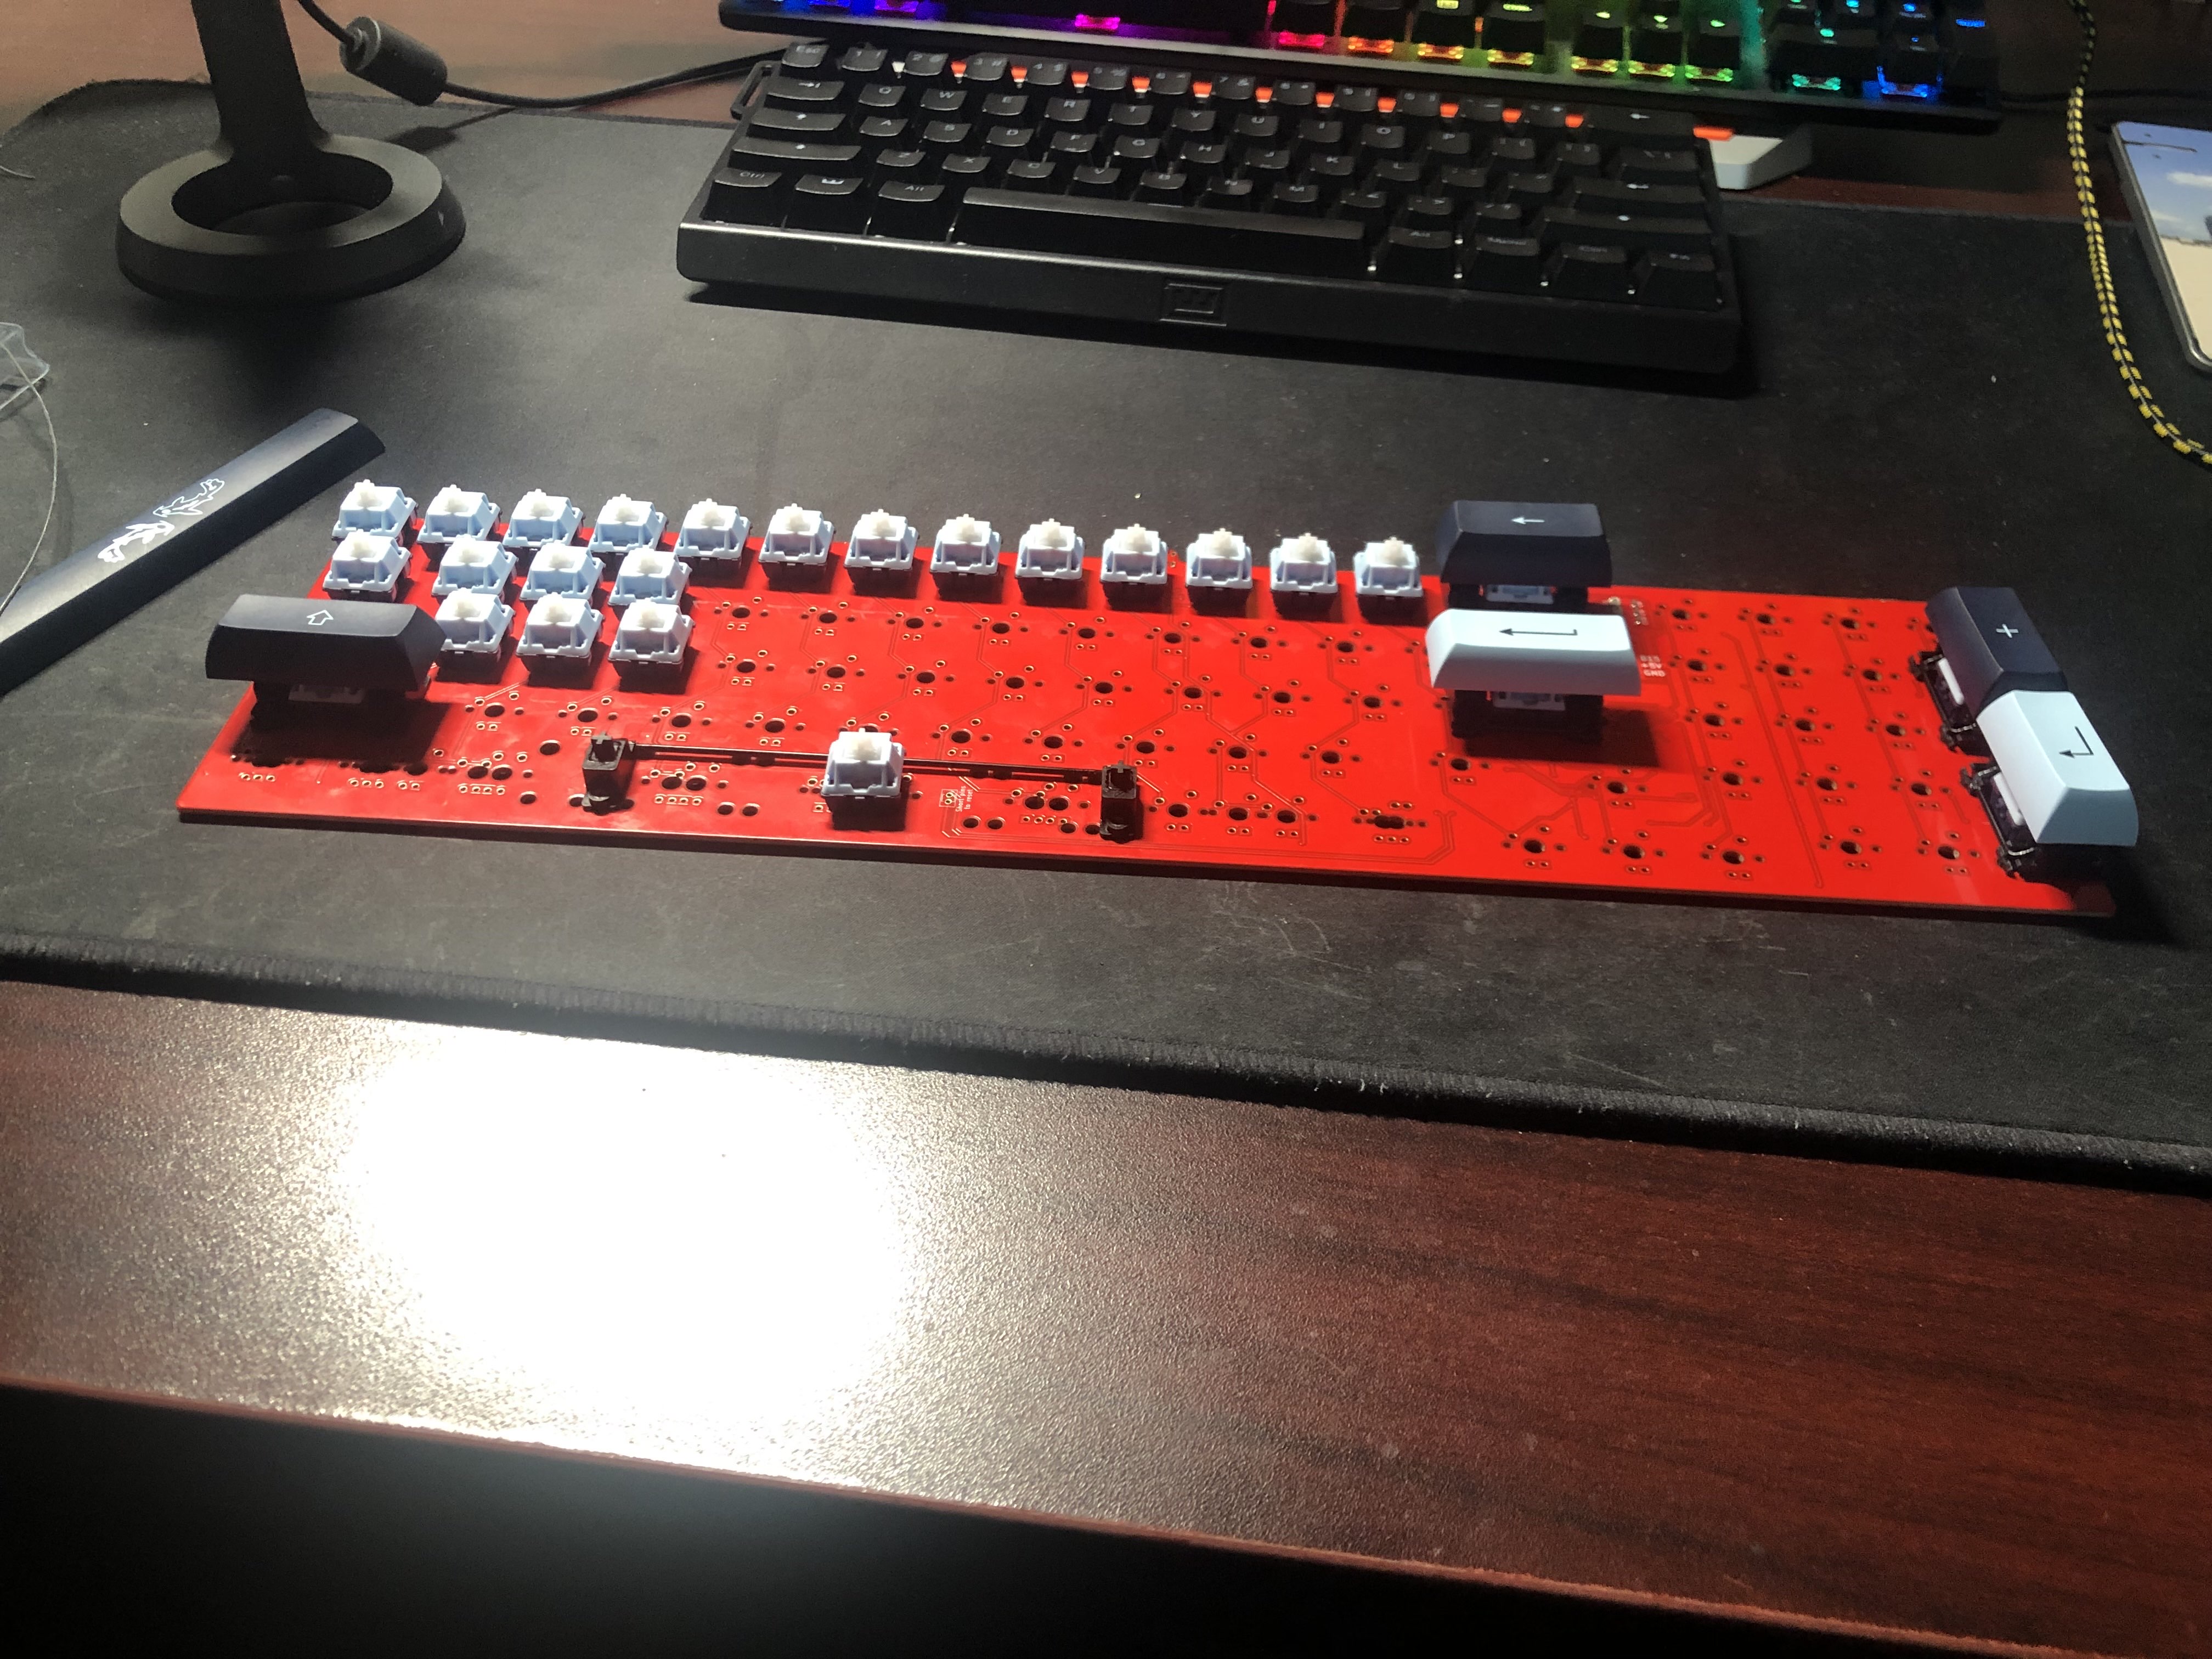
Disassembled Gateron Mizu Mink Linear Switches
Lubing Switches by hand one at a time
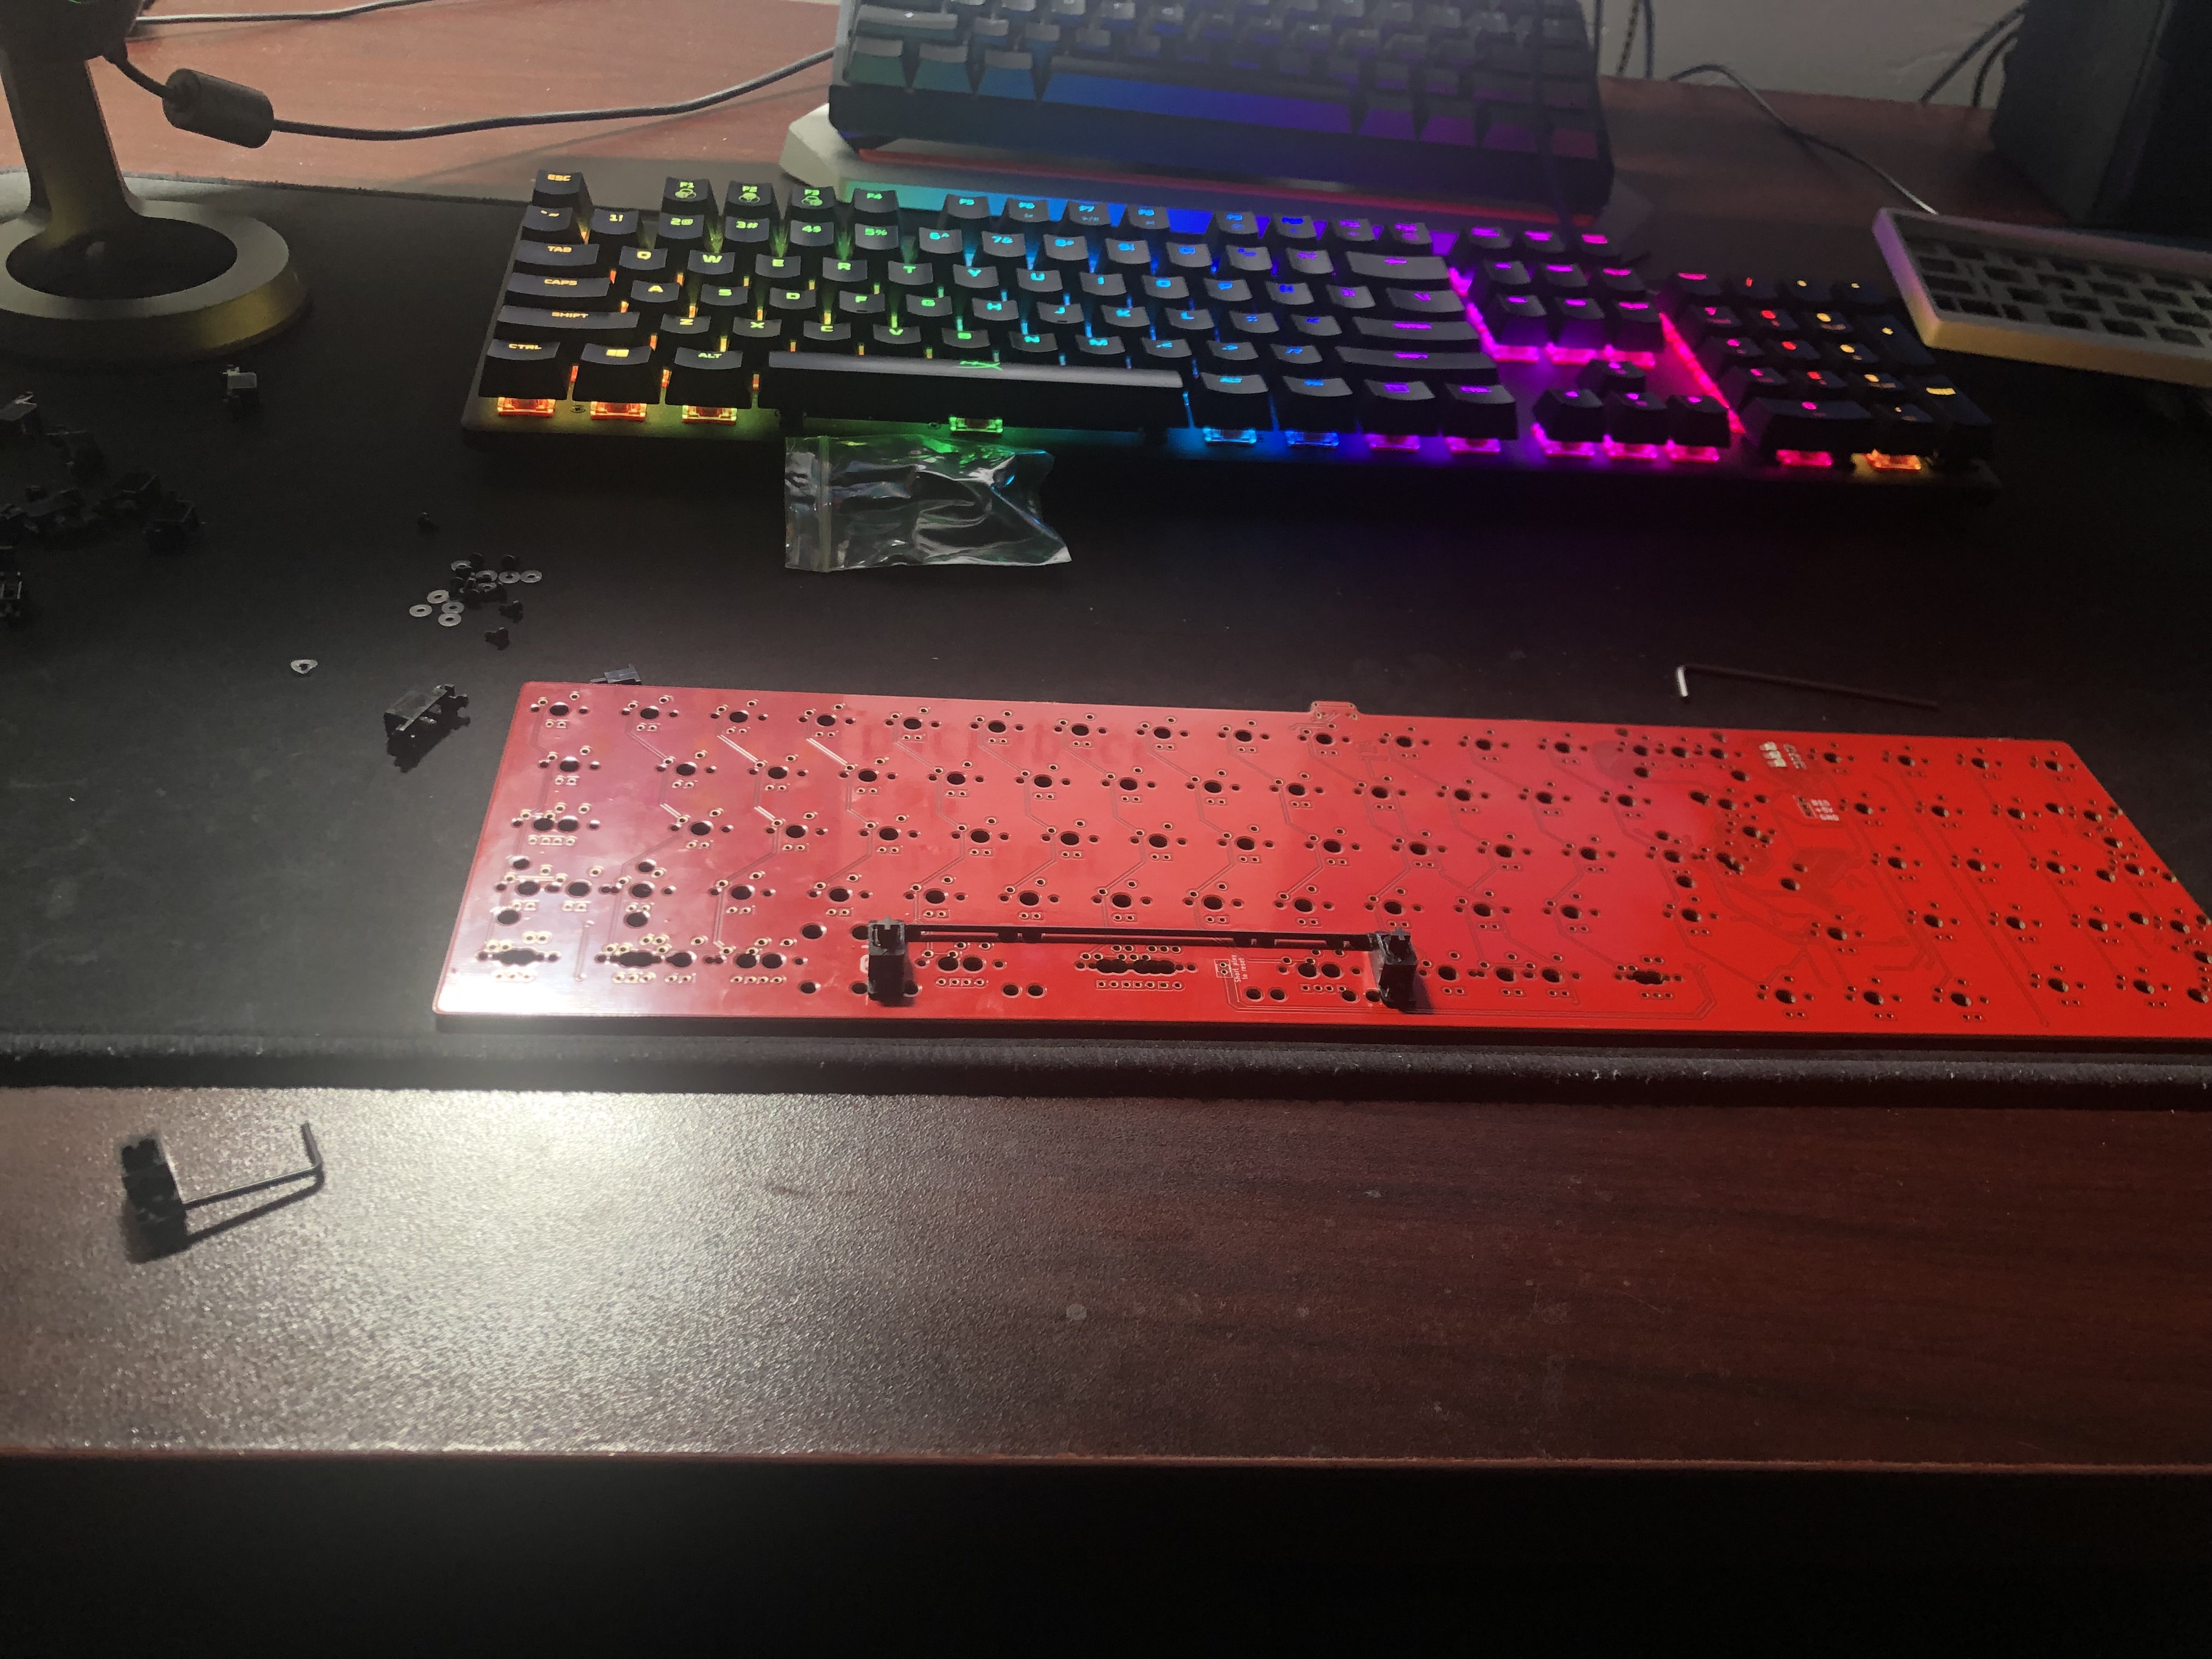
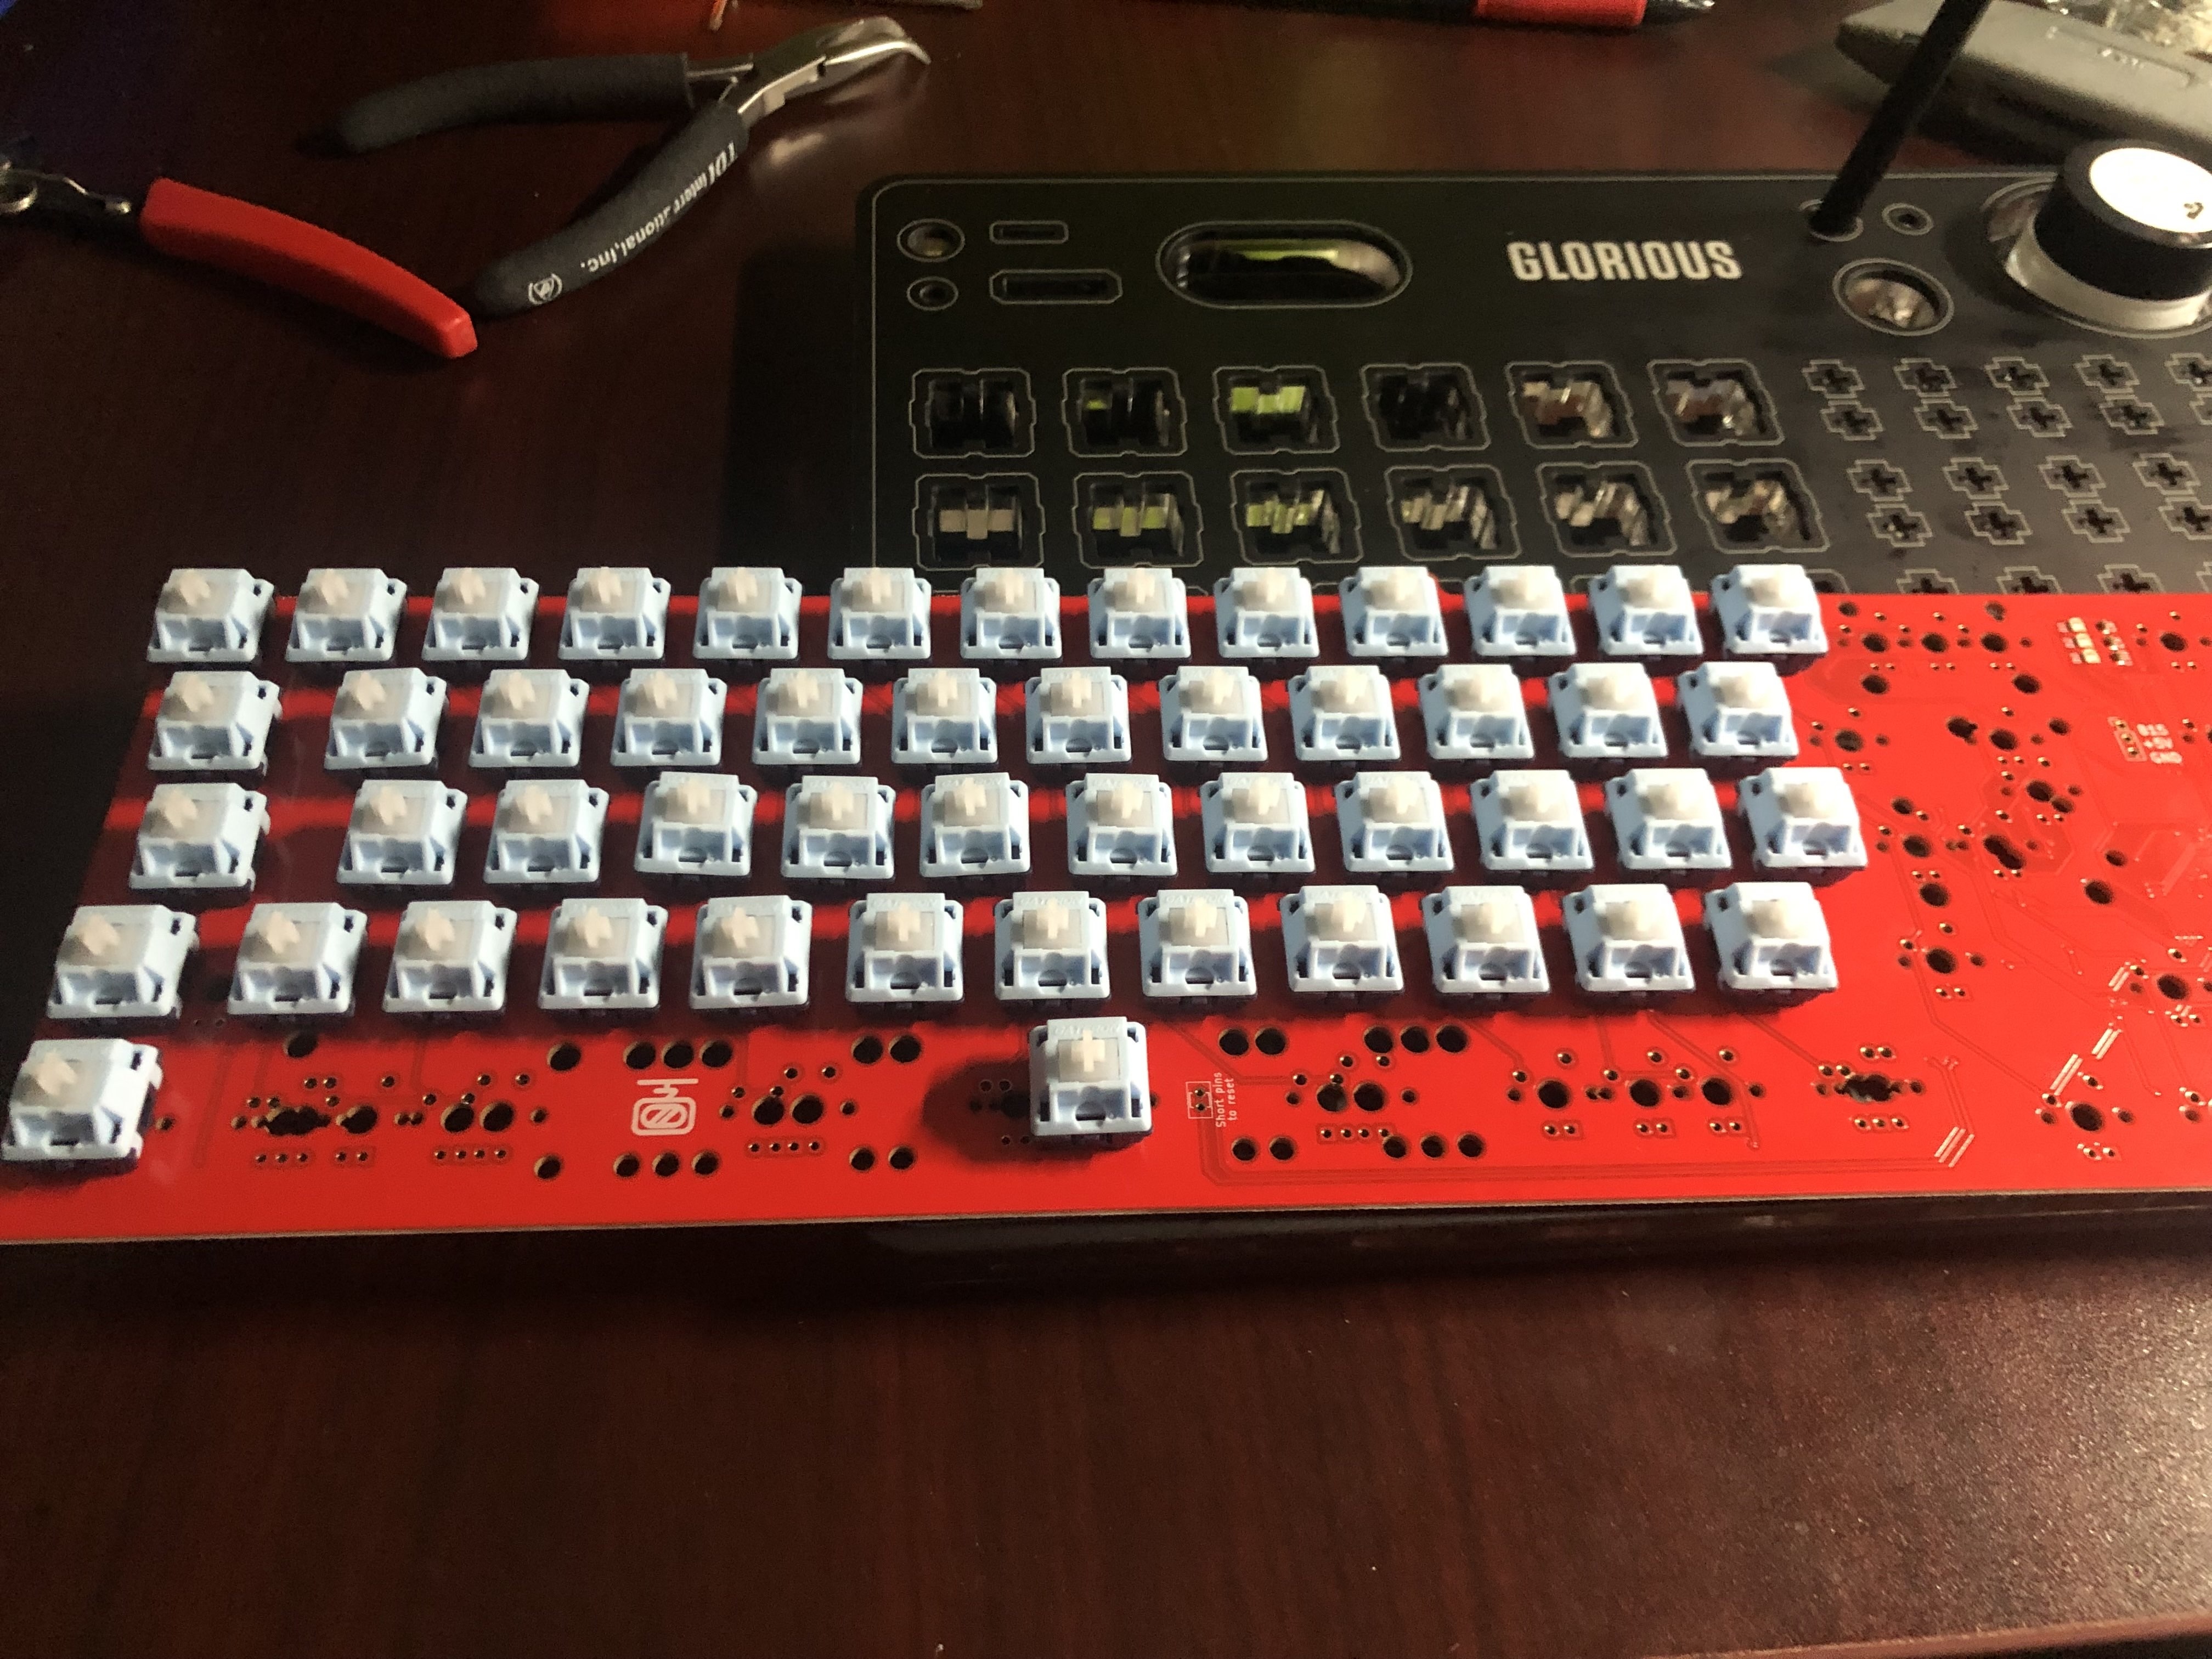
Solder station for soldering switches onto PCB
Foam & Case Assembly
Cut the Sorbothane damping film to fit the case bottom before dropping in the PCB/plate assembly. The foam dramatically lowers the pitch and tightens up the sound.
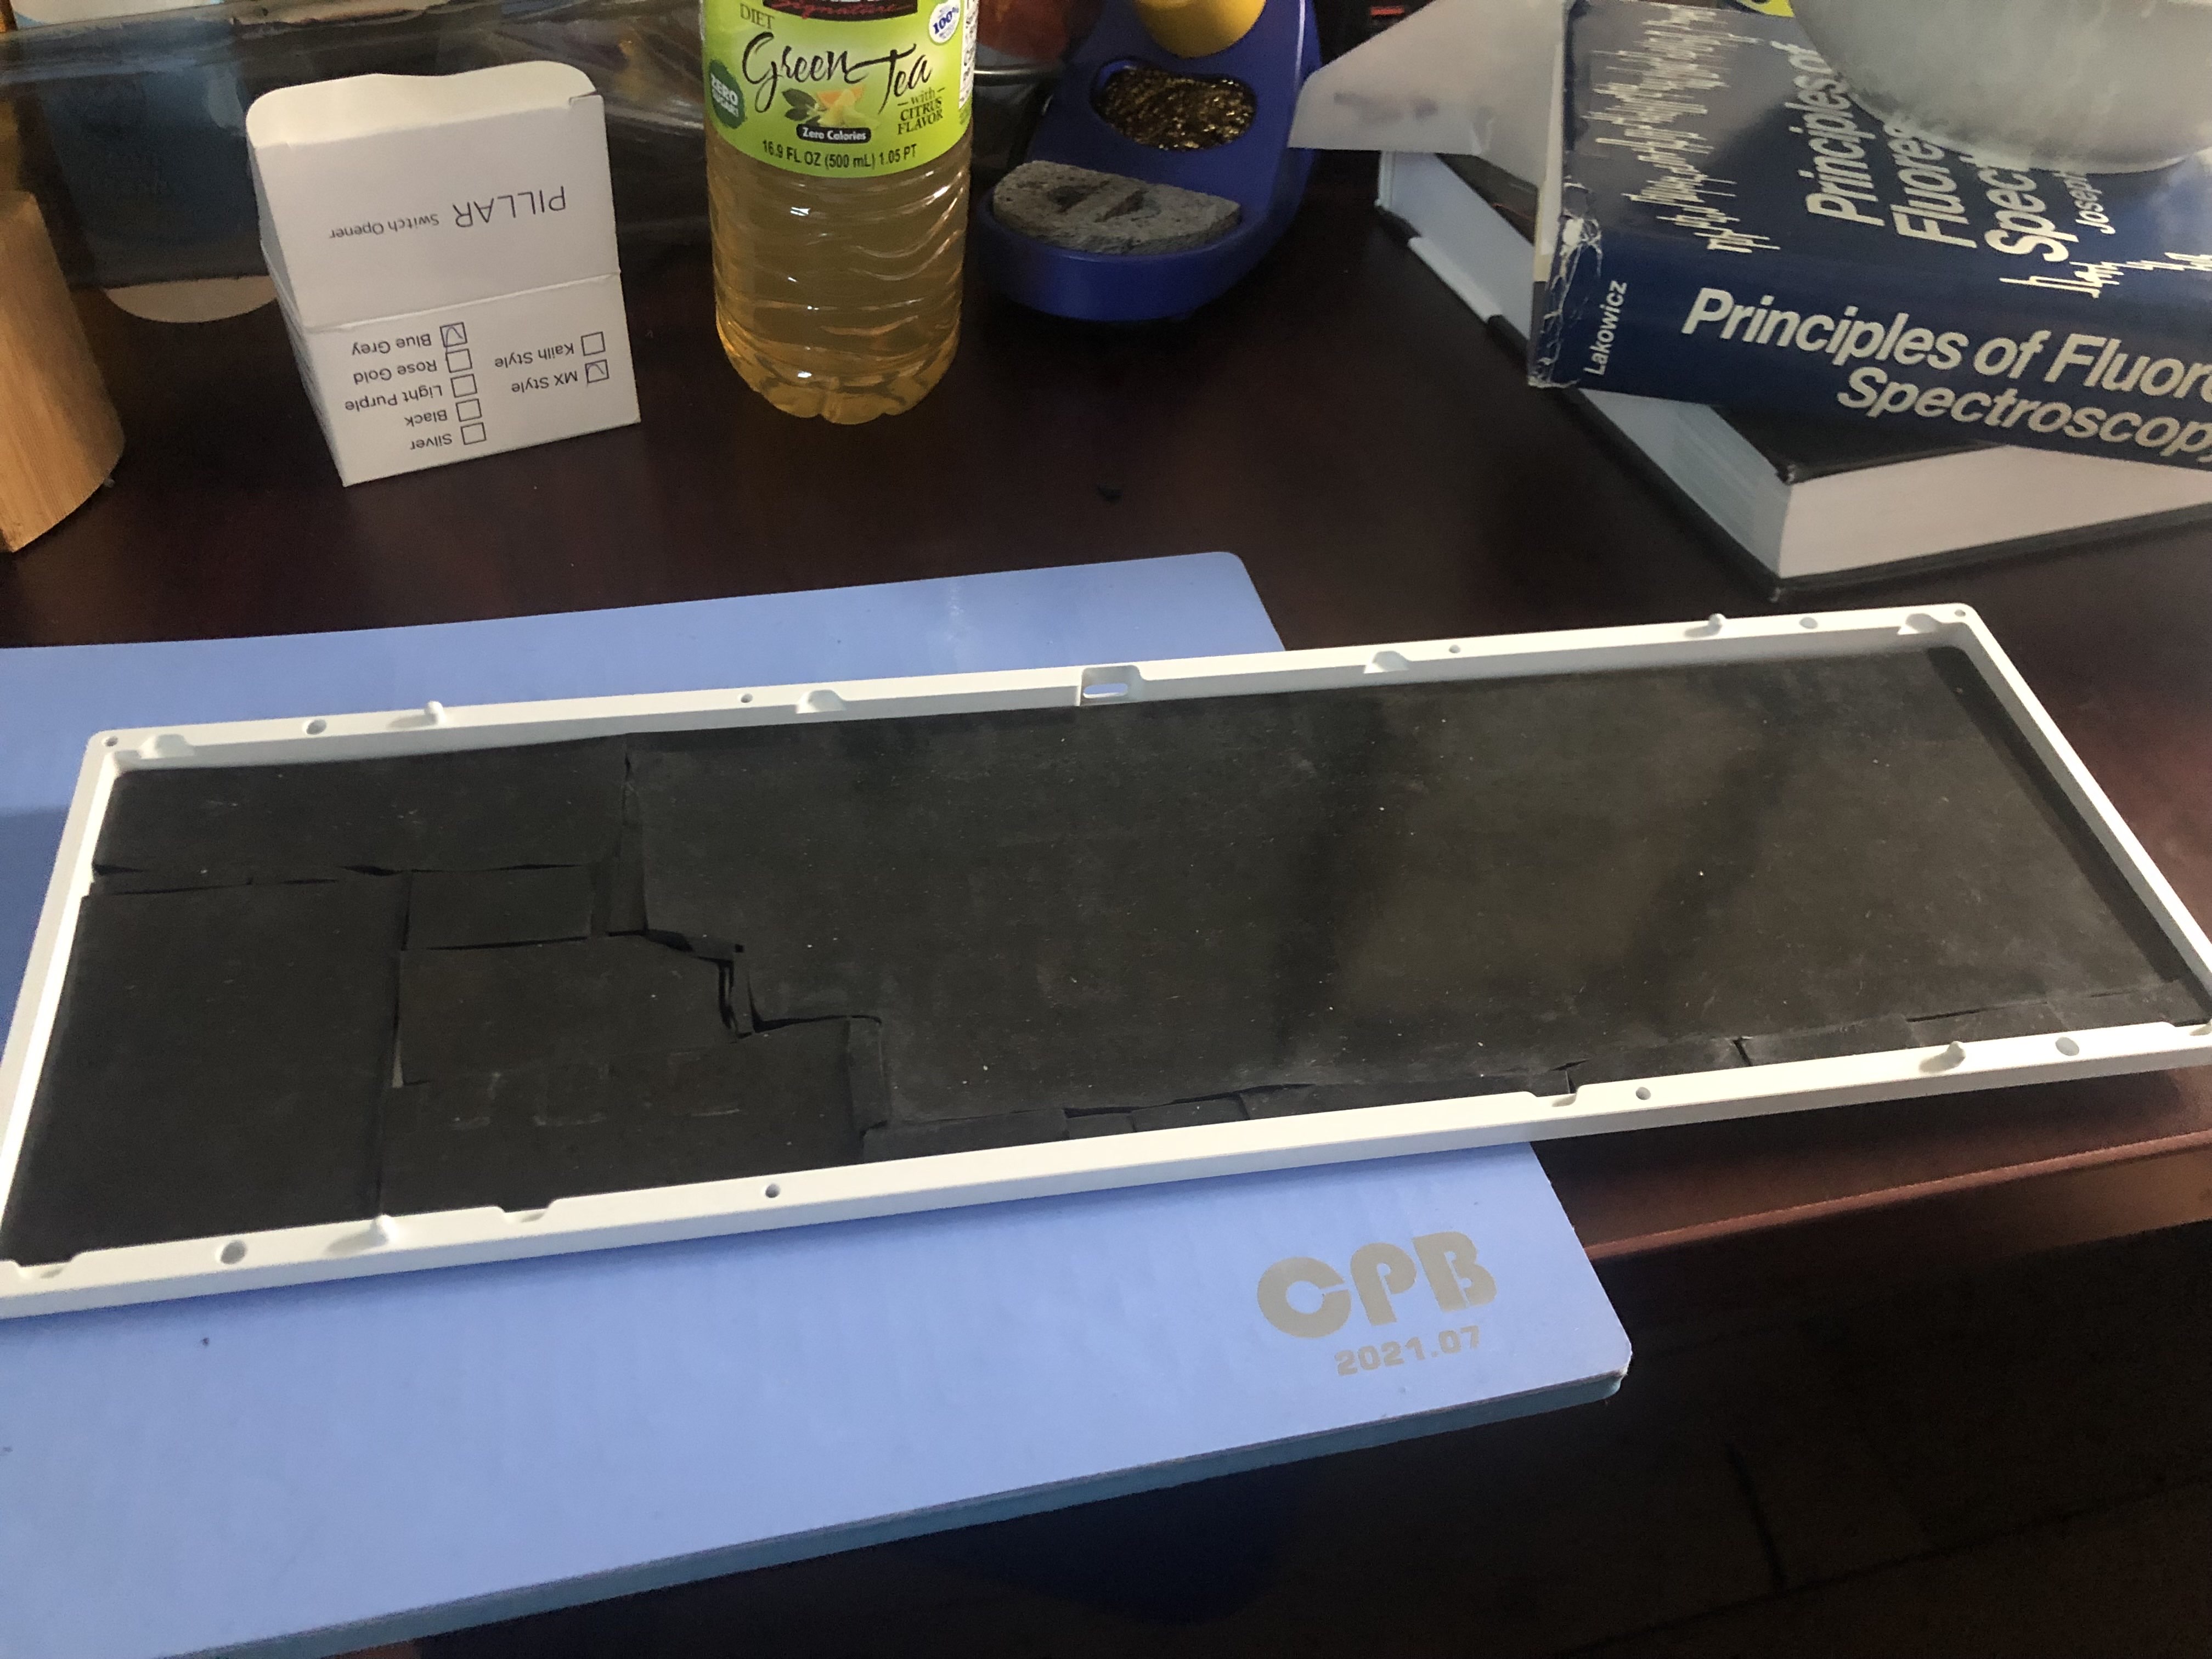
Sorbothane foam placed inside and poorly cut to shape
Assembly of completed components. Almost there
Finished Build & Testing
Build complete. Ran every key through keyboardtester.com to confirm all switches registered without issues. Happy with the result: smooth, thocky, and satisfying to type on. Just ignore the bottom right arrow key. Kind of misaligned and I don't want to fix it.
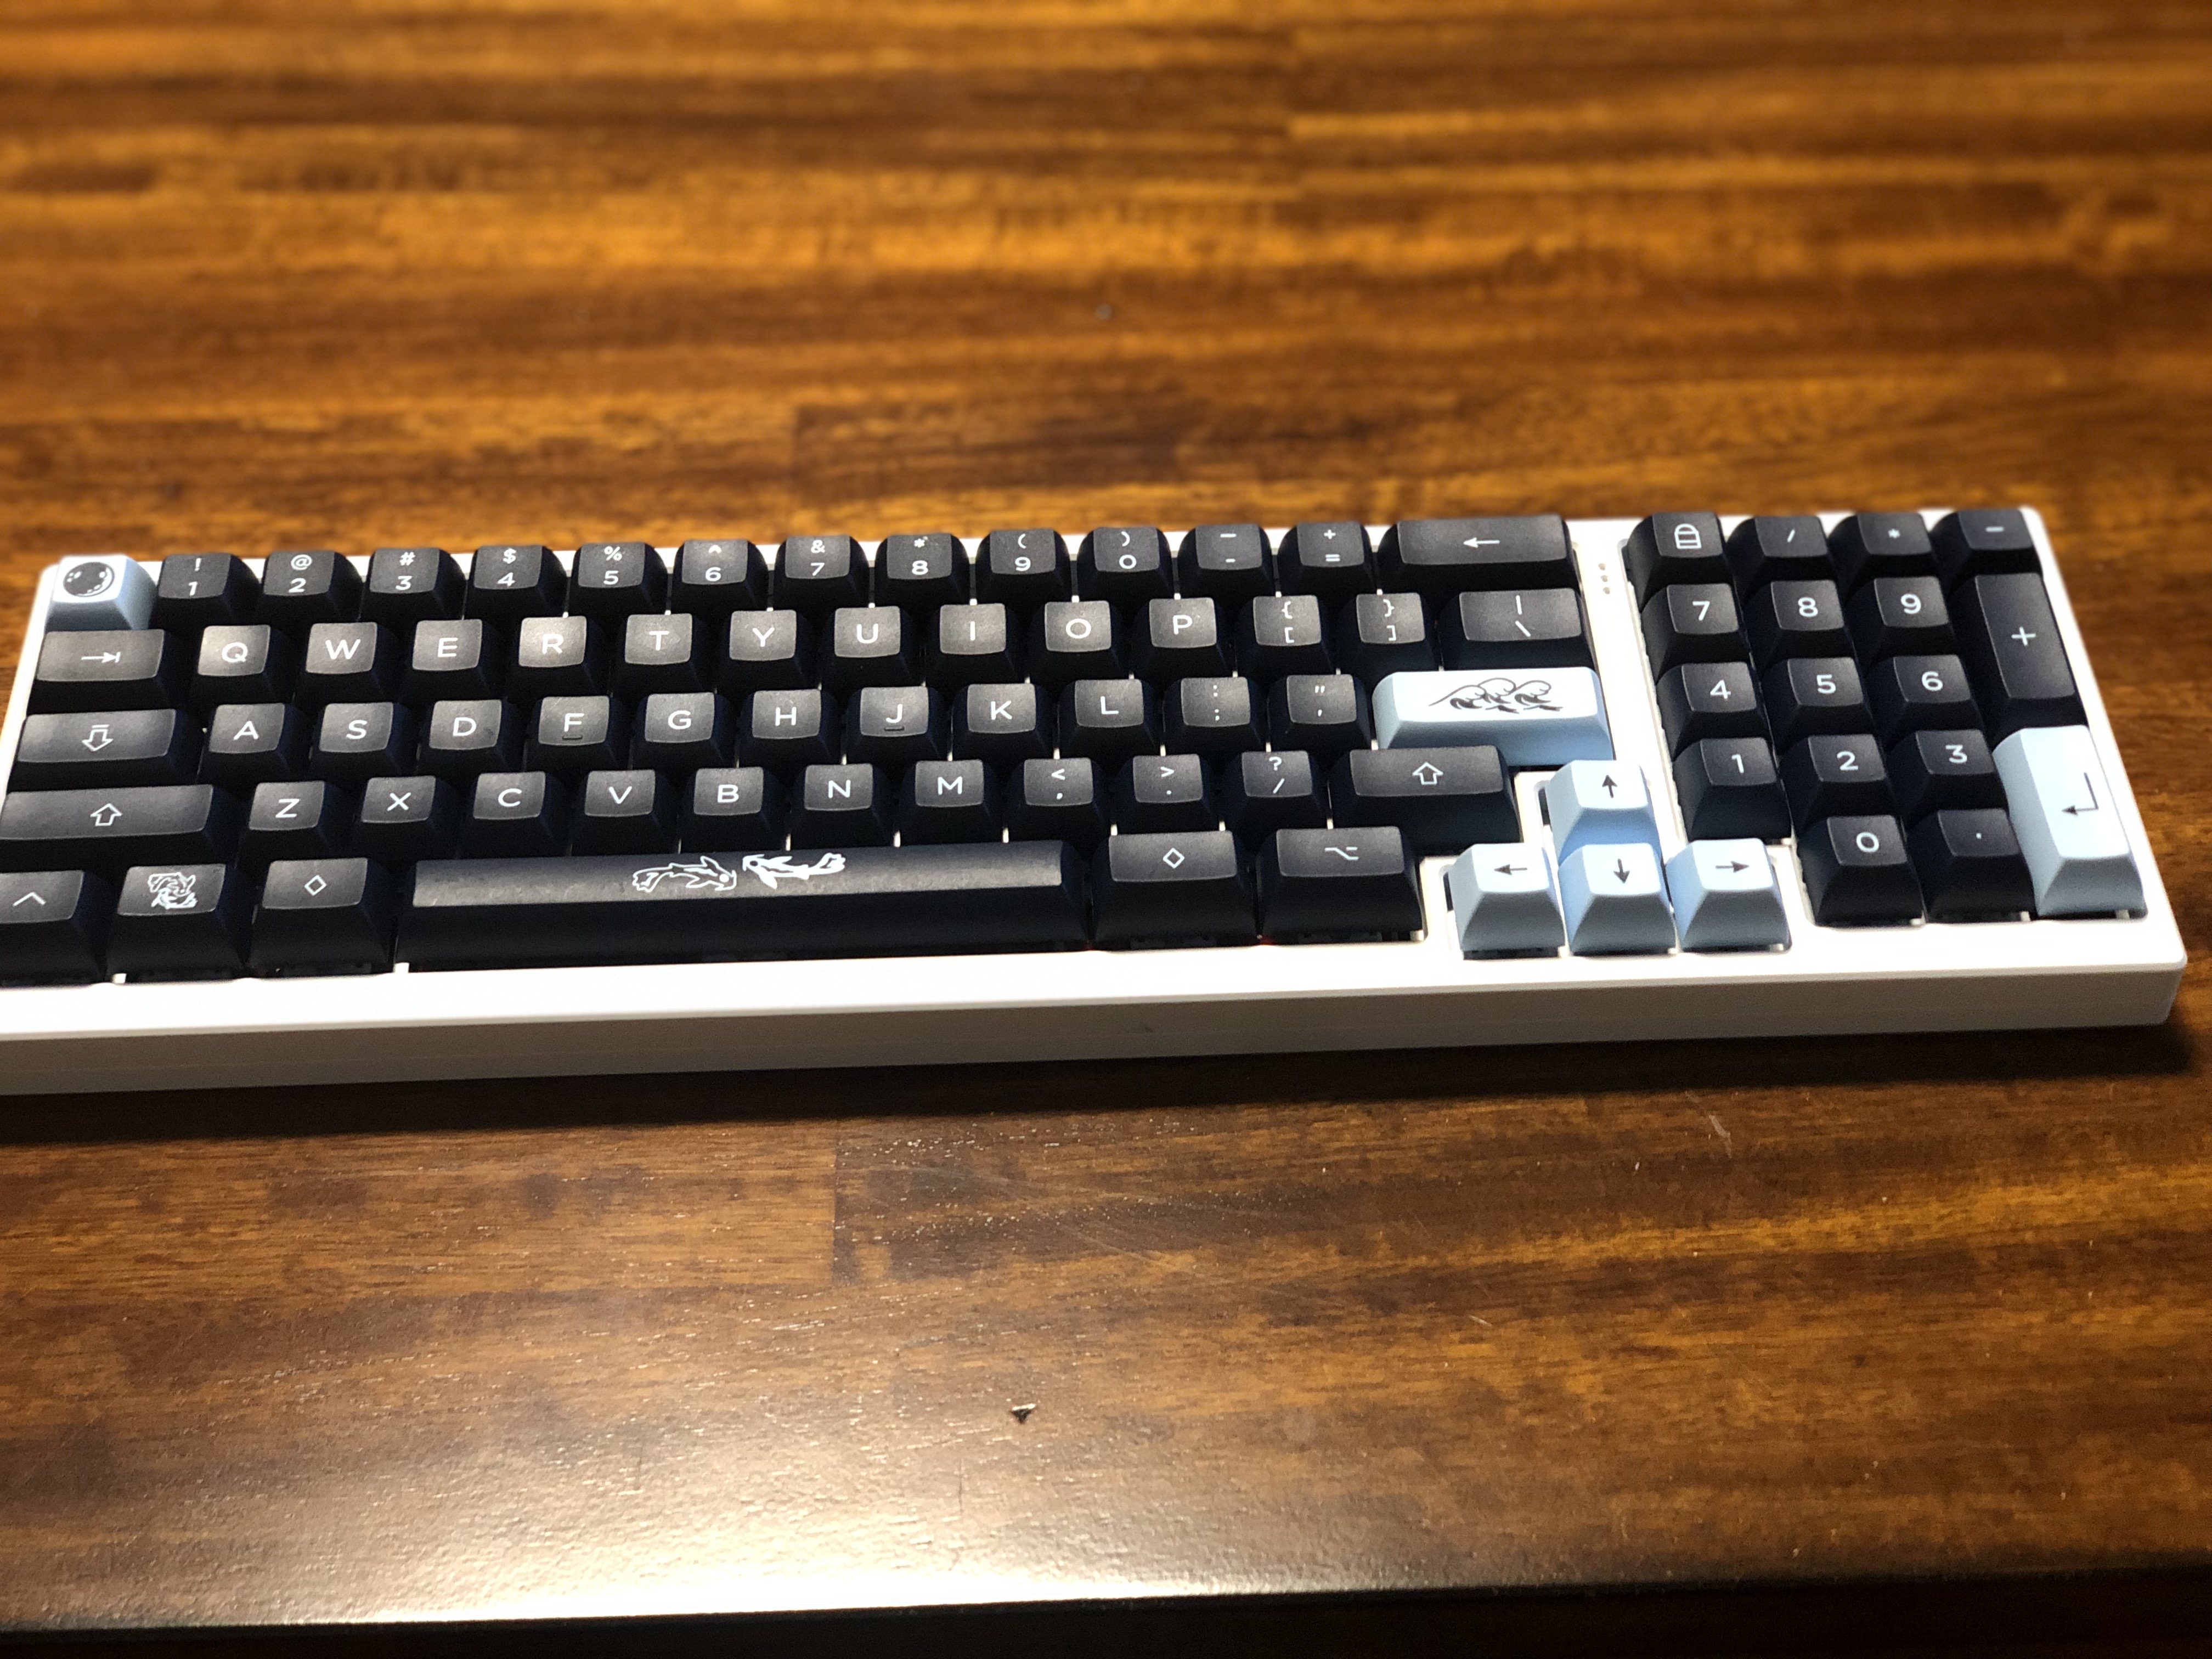
The finished Cypher R4 FRL Compact 1800
Parts List
Every component used in this build, with links to where I bought them.
Reference Videos
YouTube videos I watched and used as guides throughout this build.
Keyboard Build Guide
Reference guide watched during this build
Keyboard Build Guide
Reference guide watched during this build